How to: Zapier Integration
In a follow-up to our post earlier this month on using webhooks to push information to Slack, here’s a way to share data with over 500 other apps using Zapier.
For those unfamiliar with Zapier, it’s a third party service that moves data from one app to another. It can be used for tasks such as copying data to a spreadsheet, populating a mailing list, or updating your CRM.
Zapier’s integrations are called ‘Zaps’ and are made up of a Trigger, and one or more Actions or Searches.
A note from Zapier’s documentation: Zaps do not import or export old data (they only operate on new items created after the Zap is enabled). Zaps are also not kept in sync (“two way syncing”) after the Zap is triggered.
As you would imagine, Zapier is a paid service, although depending on your requirements you might be able to use their free plan. More information on costs here: https://zapier.com/pricing/
Example
In this example we’re going to create (or update) contacts in HubSpot. HubSpot is a popular marketing and sales platform, and its CRM is free to use.
What you’ll need
- A Tito account with an event already set-up with at least one available ticket
- A HubSpot account, you can sign up here
- A Zapier account, you can sign up here
Note: In order to set-up the integration we’ll need to process a ticket in Tito. In order to do this without upsetting your numbers and incurring any charges you should set your Tito event to Test Mode (Customize > Test Mode > Enable Test Mode for the whole event). For paid tickets in test mode, if you have a Stripe account connected, you can use a test credit card to process the order:
Card number: 4242 4242 4242 4242
Expiry date: 01/2020
CVV: 123
Create a Zapier integration
Step 1.
If you haven’t already, create an account on Zapier, or log into your existing account
Step 2.
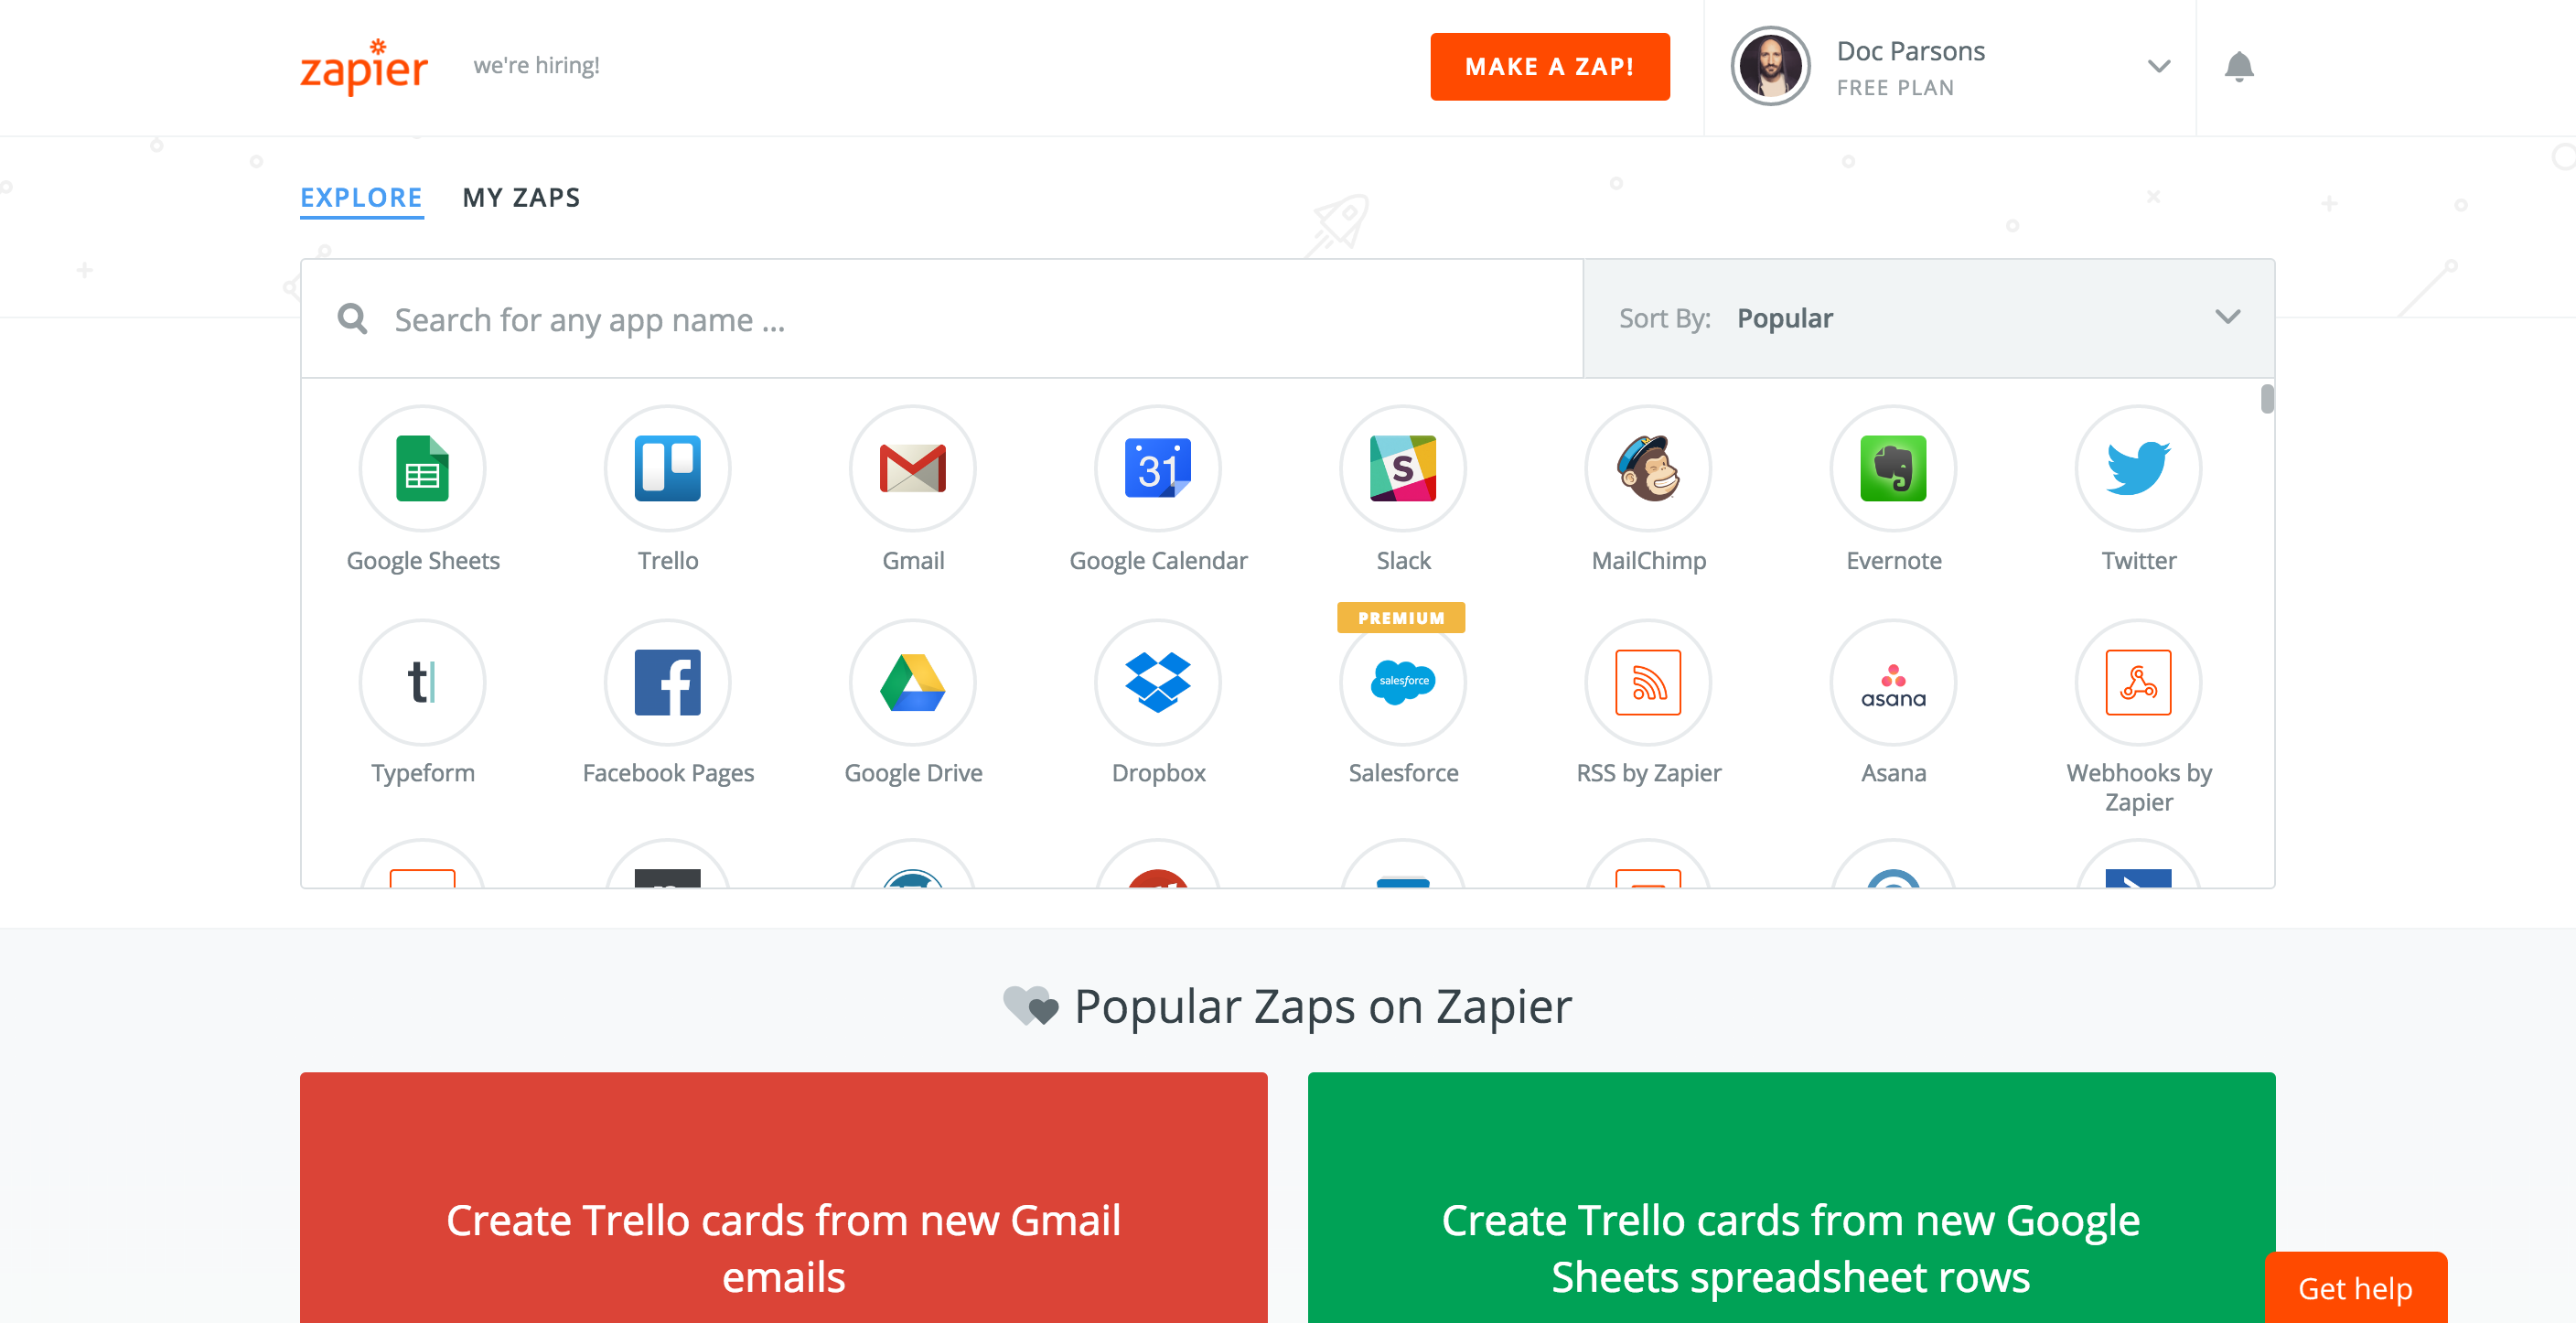
On your Zapier dashboard, click “MAKE A ZAP” at the top of the screen
Step 3.
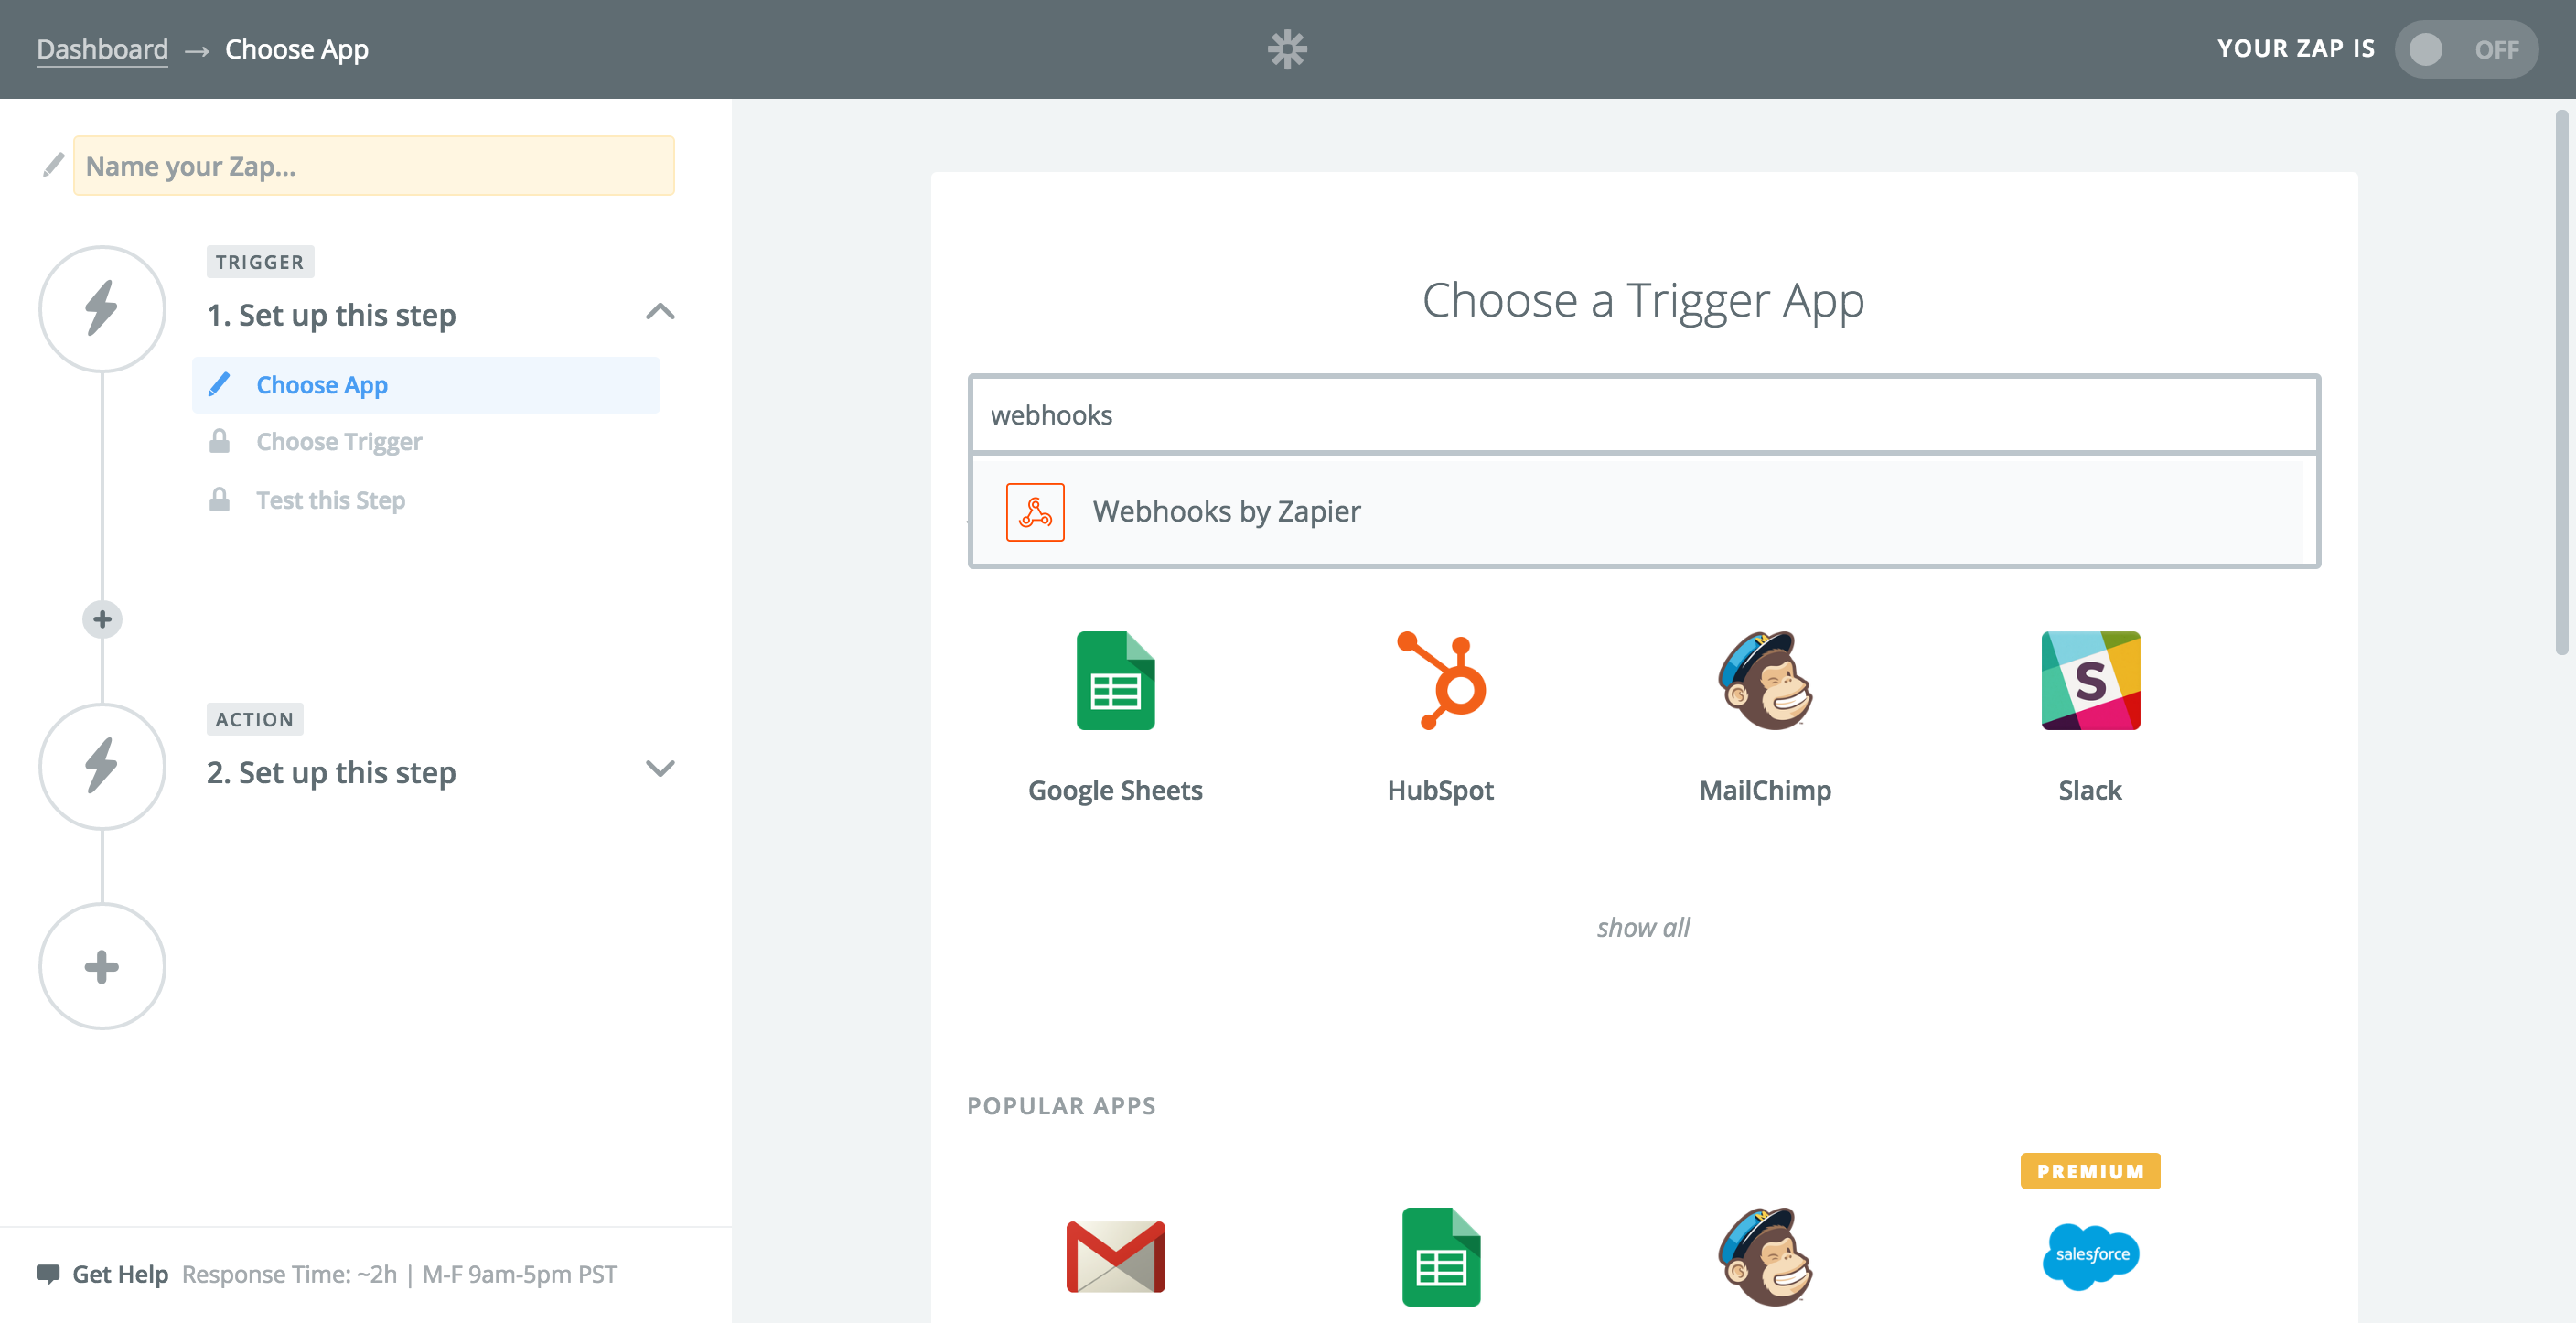
Choose a Trigger App: In the searchbar, type “webhooks” and select “Webhooks by Zapier”
Step 4.
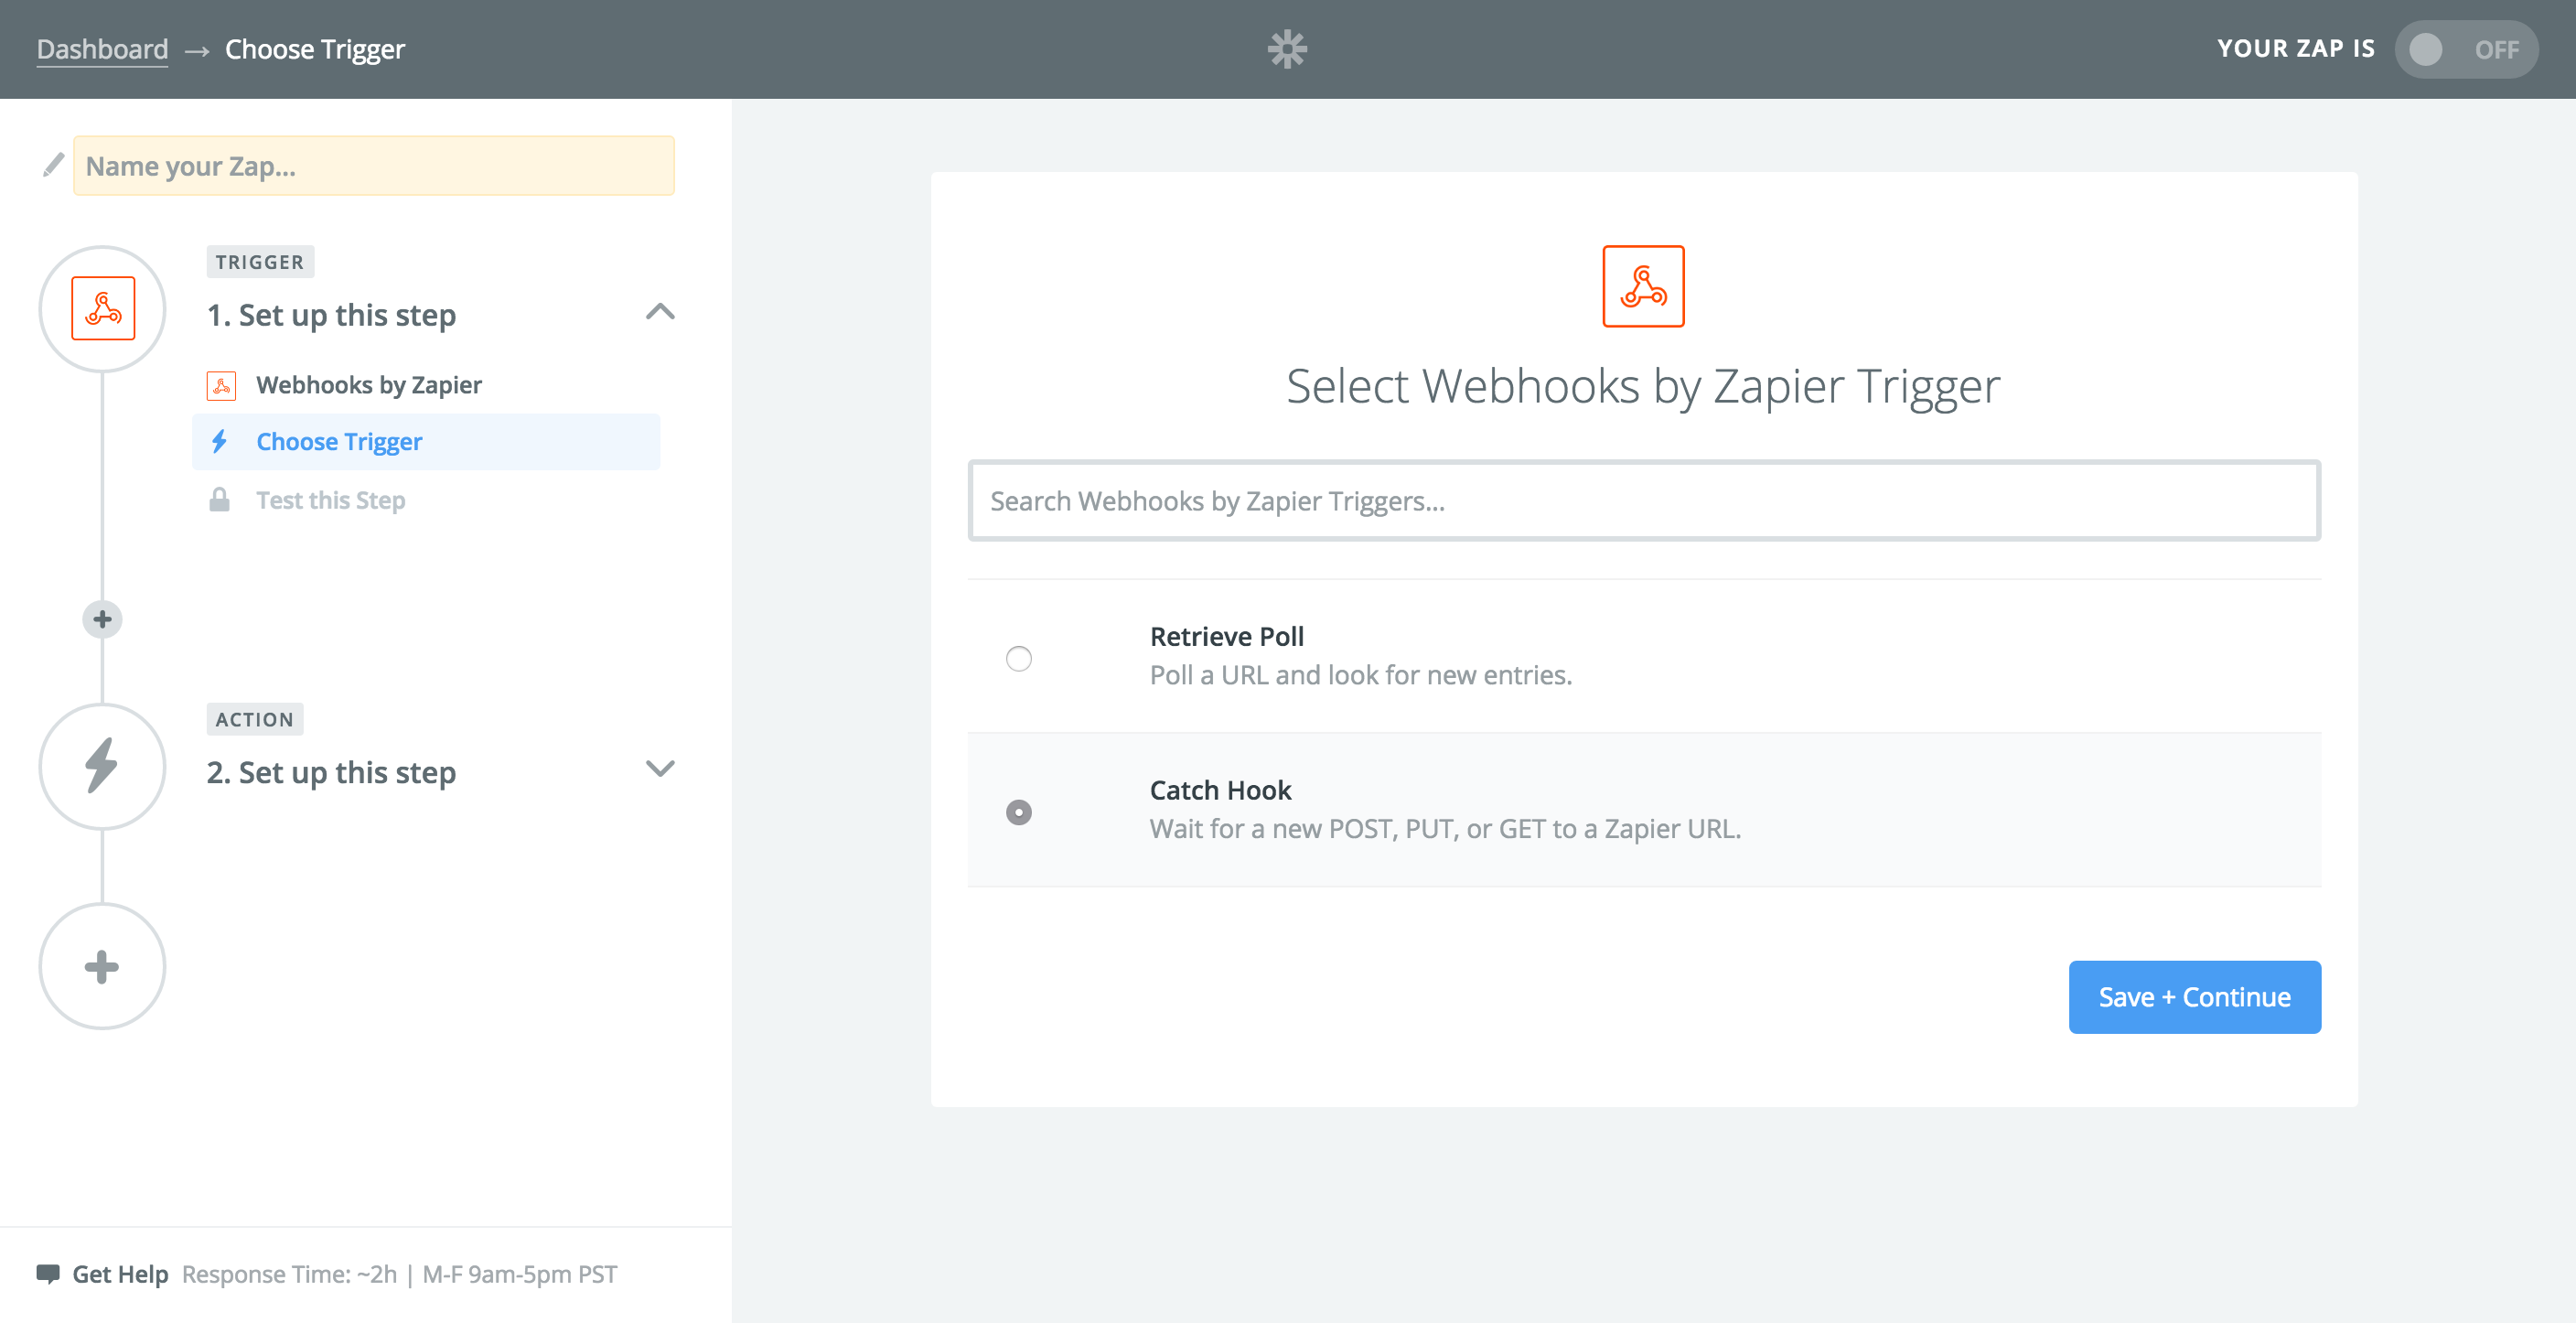
Choose a Trigger: select “Catch Hook” then “Save + Continue”
Step 5.
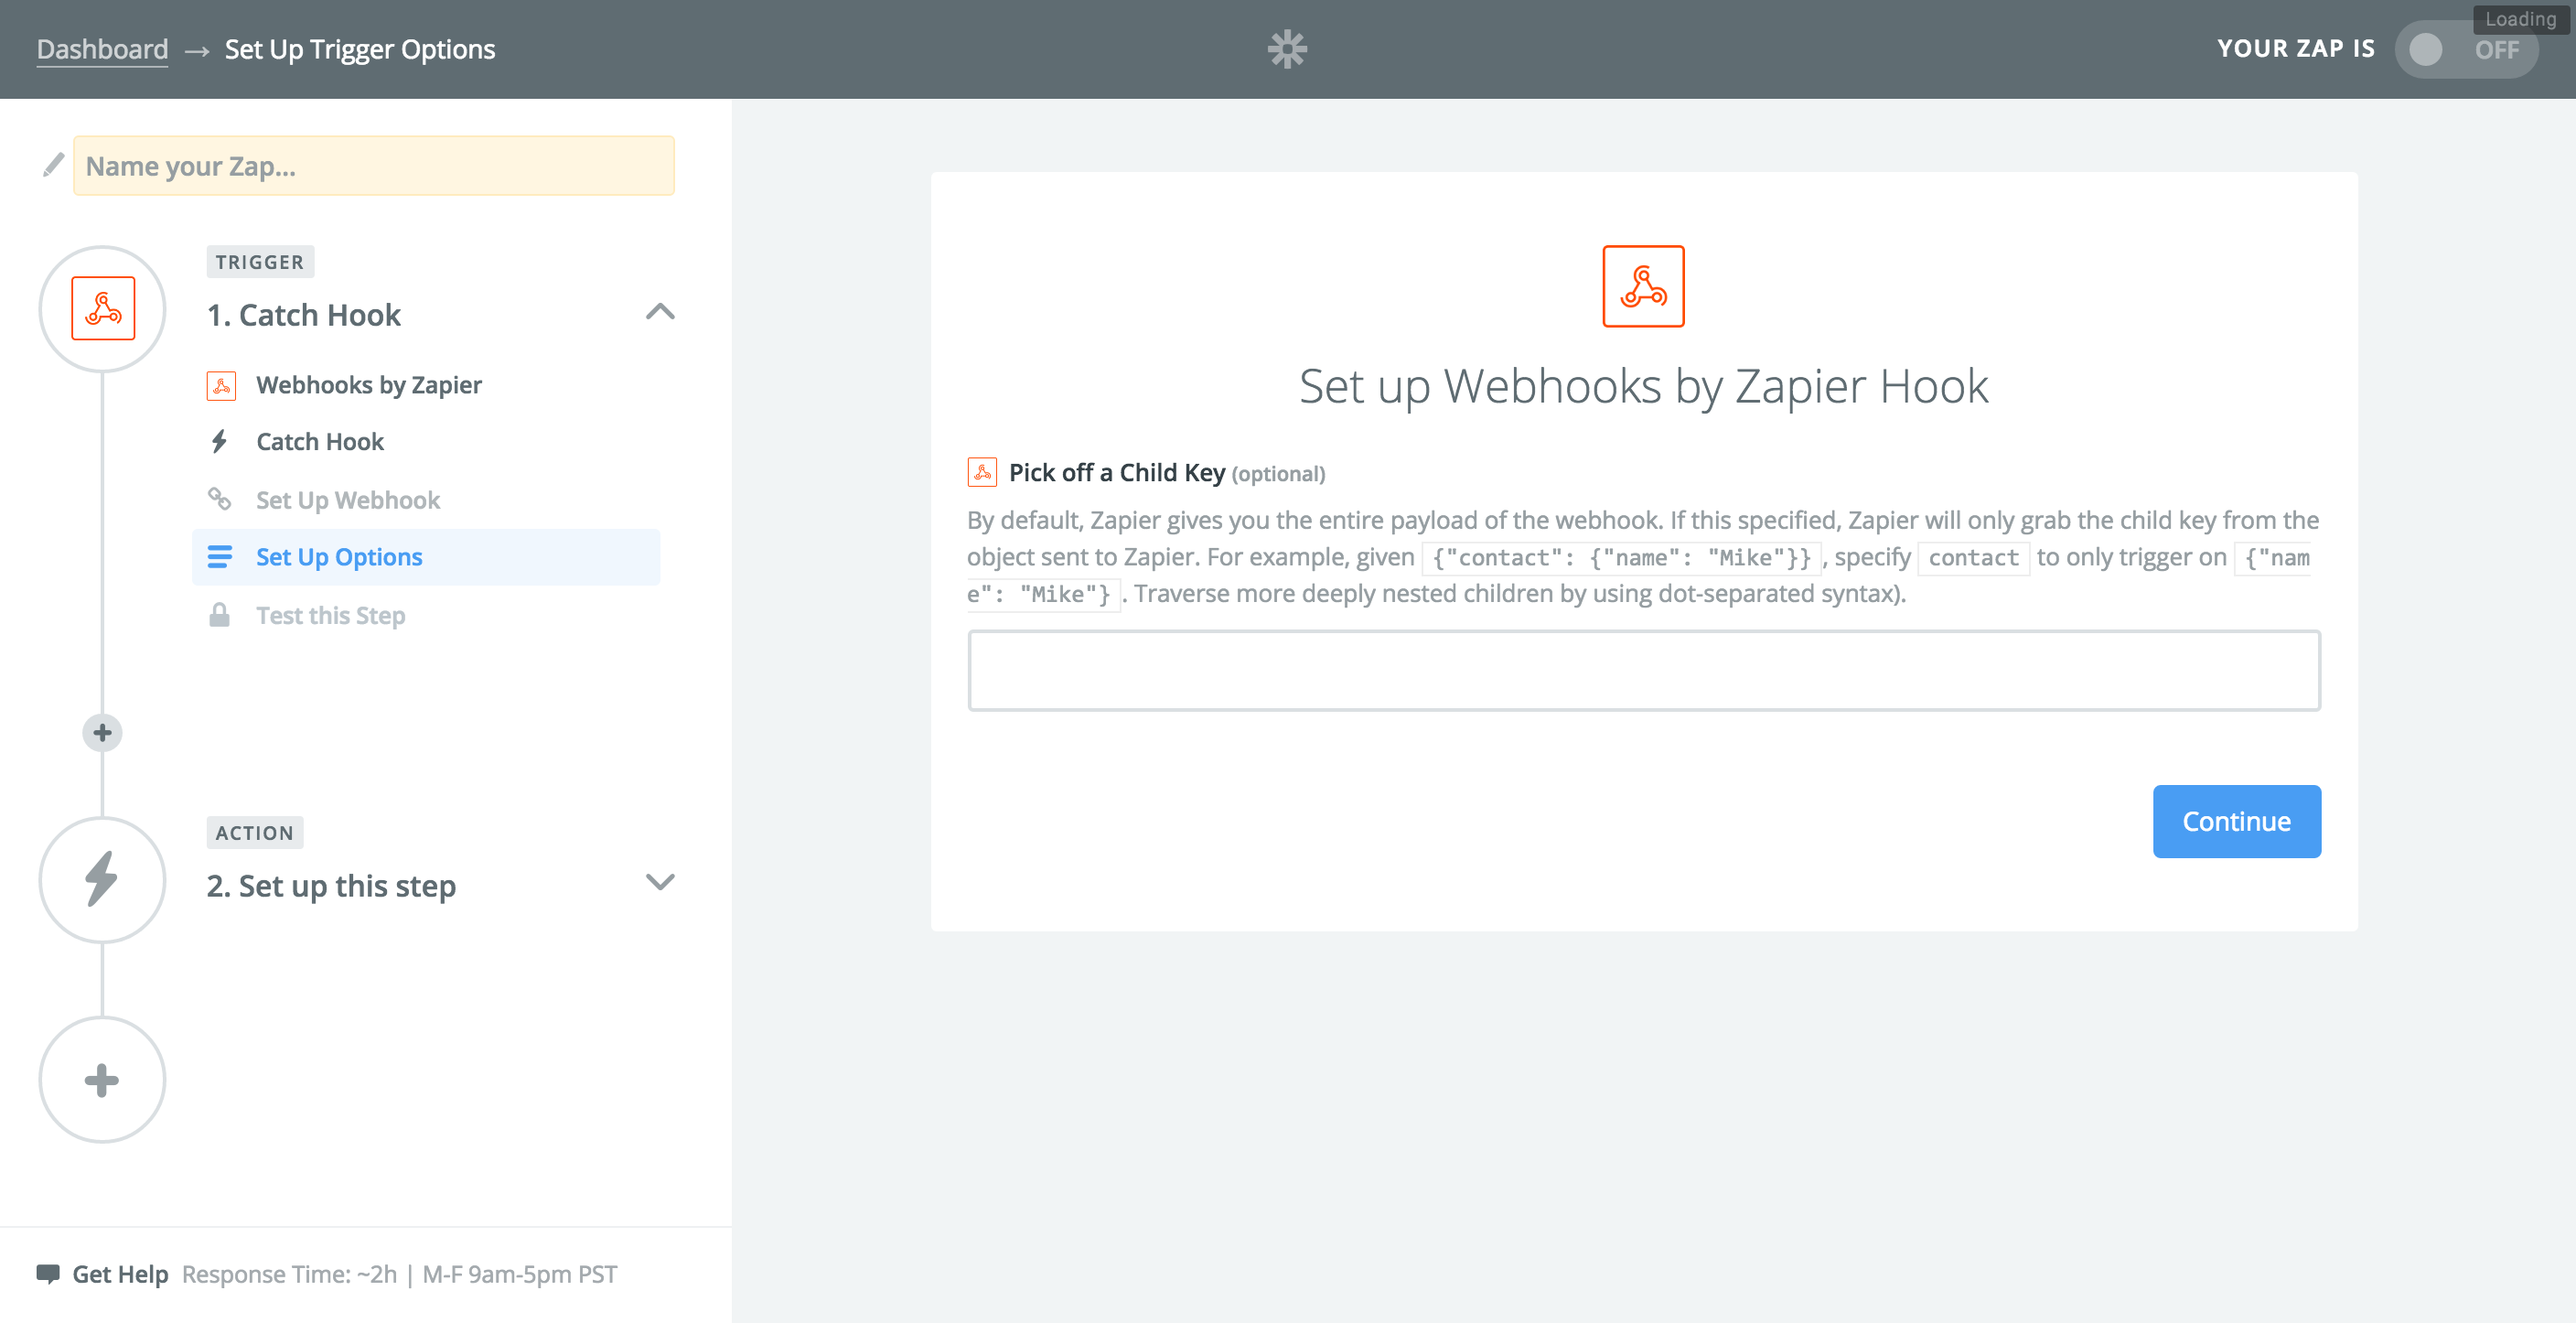
Pick off a Child Key: you can skip this, just click “Continue”
Step 6.
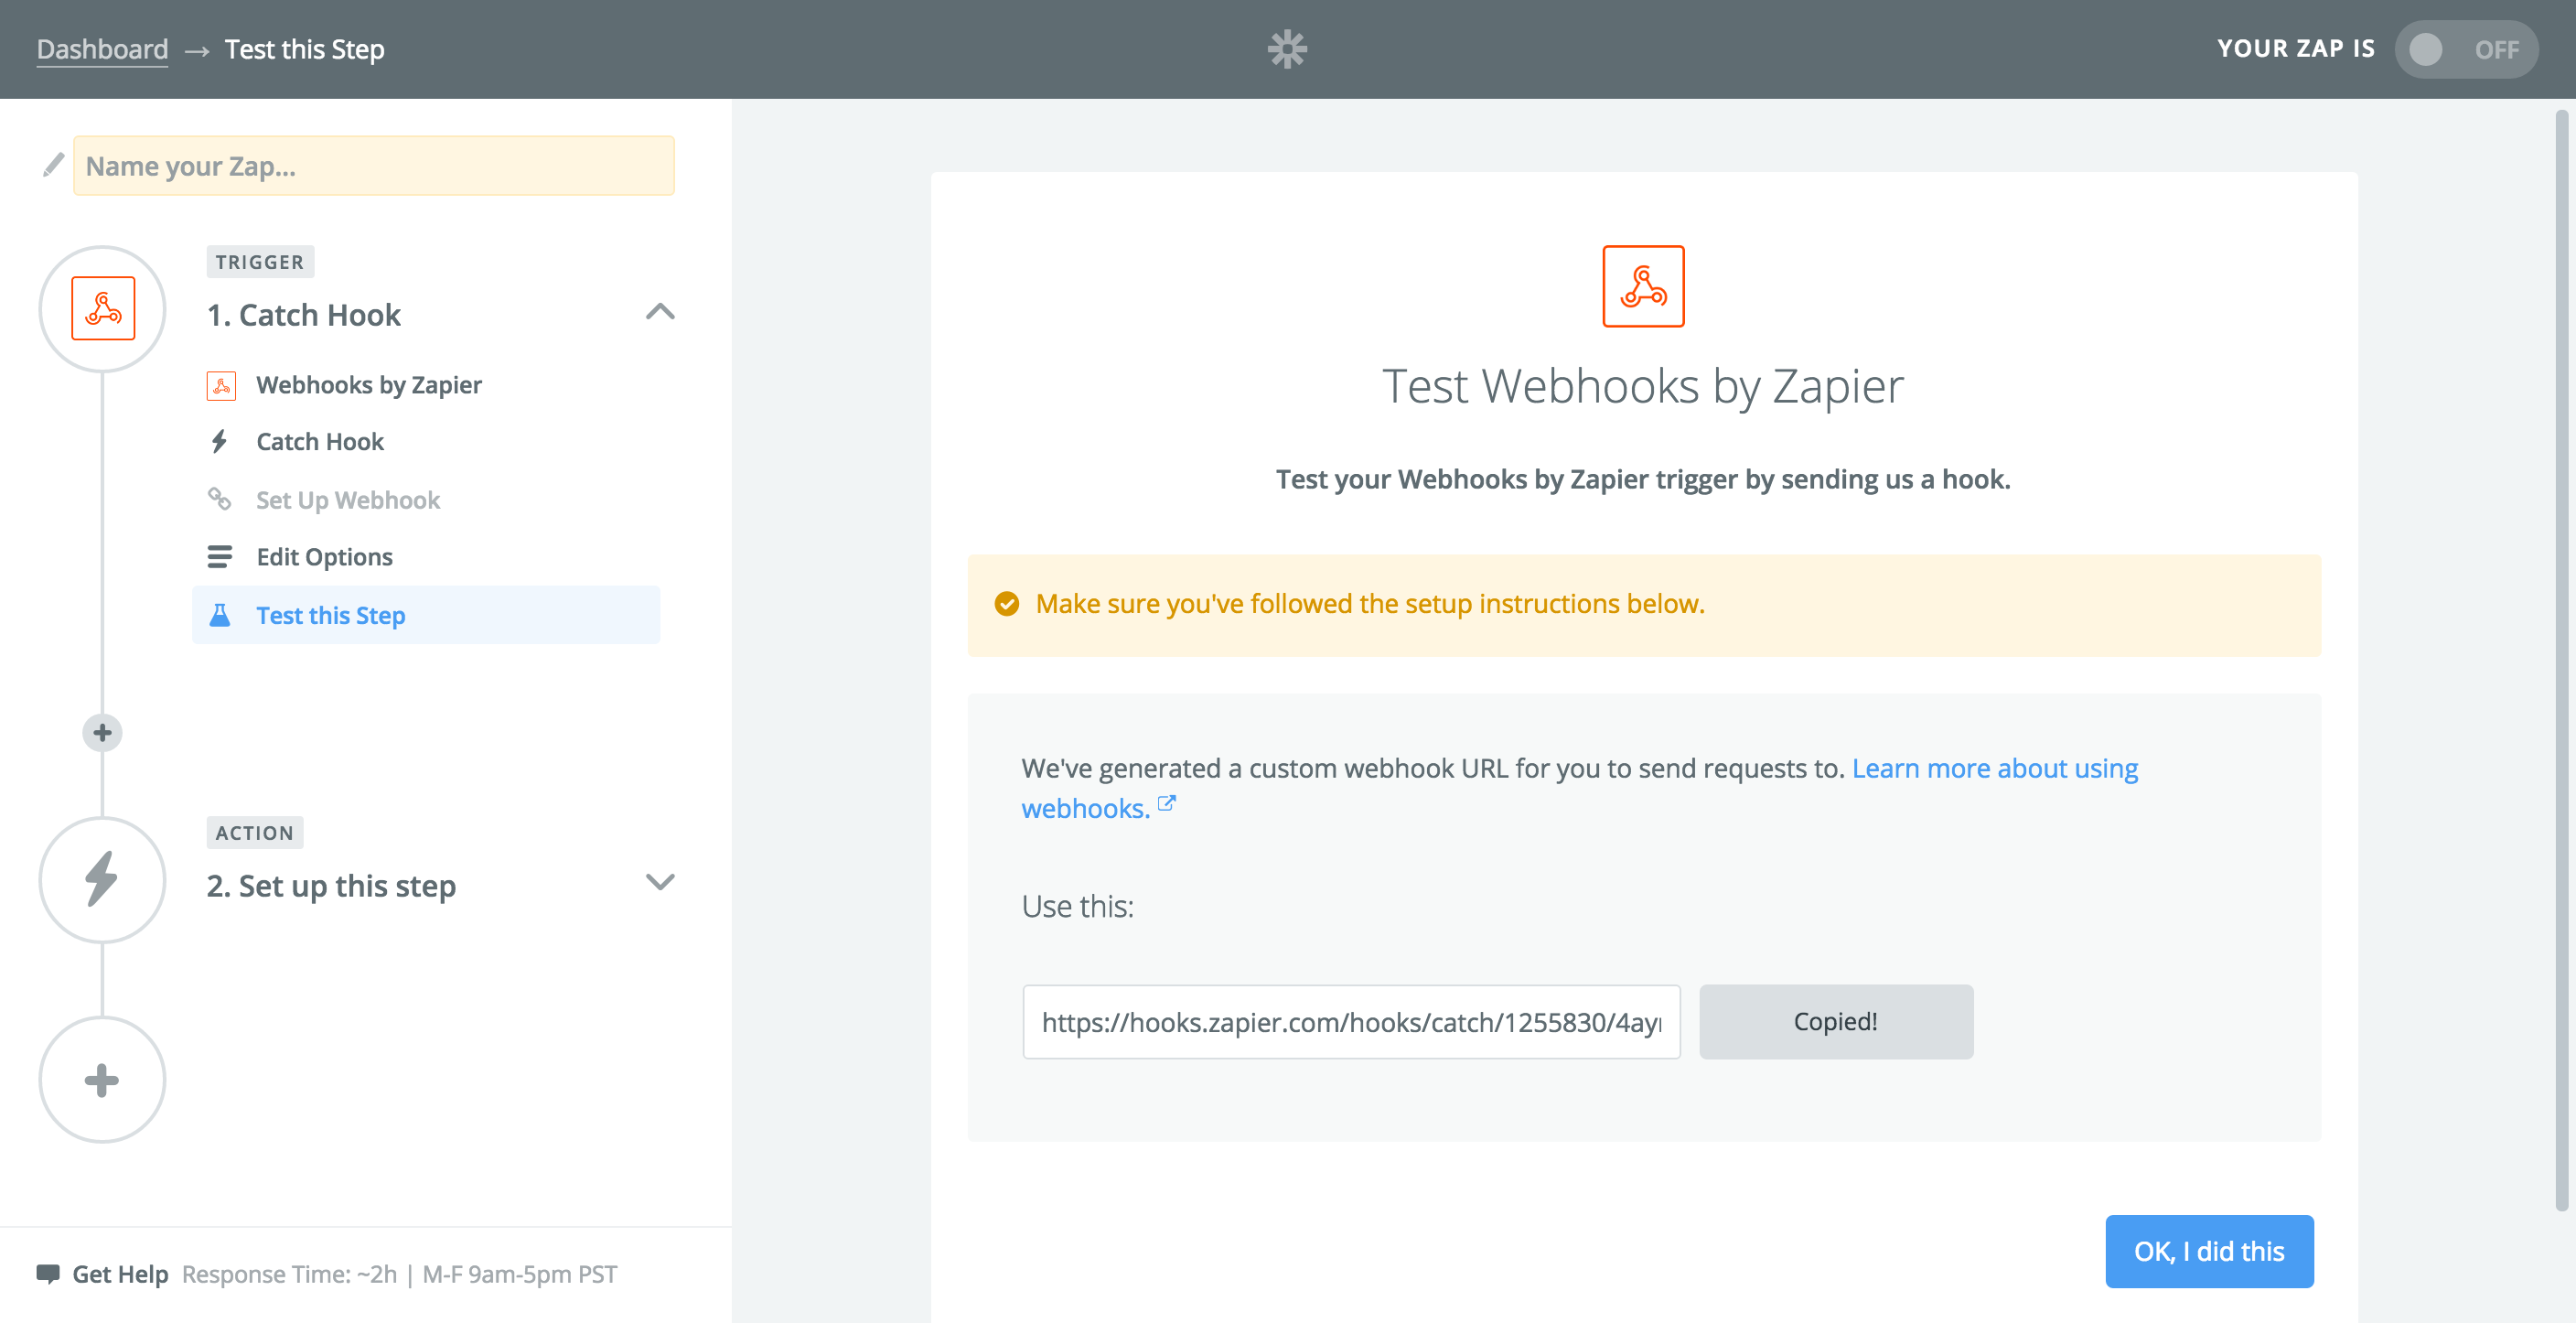
Test this Step: copy the generated URL to the clipboard
Step 7.

Create an Endpoint: Switch to your event in Tito. Go to “Customize > Webhooks” and click “Add New Endpoint”
Step 8.
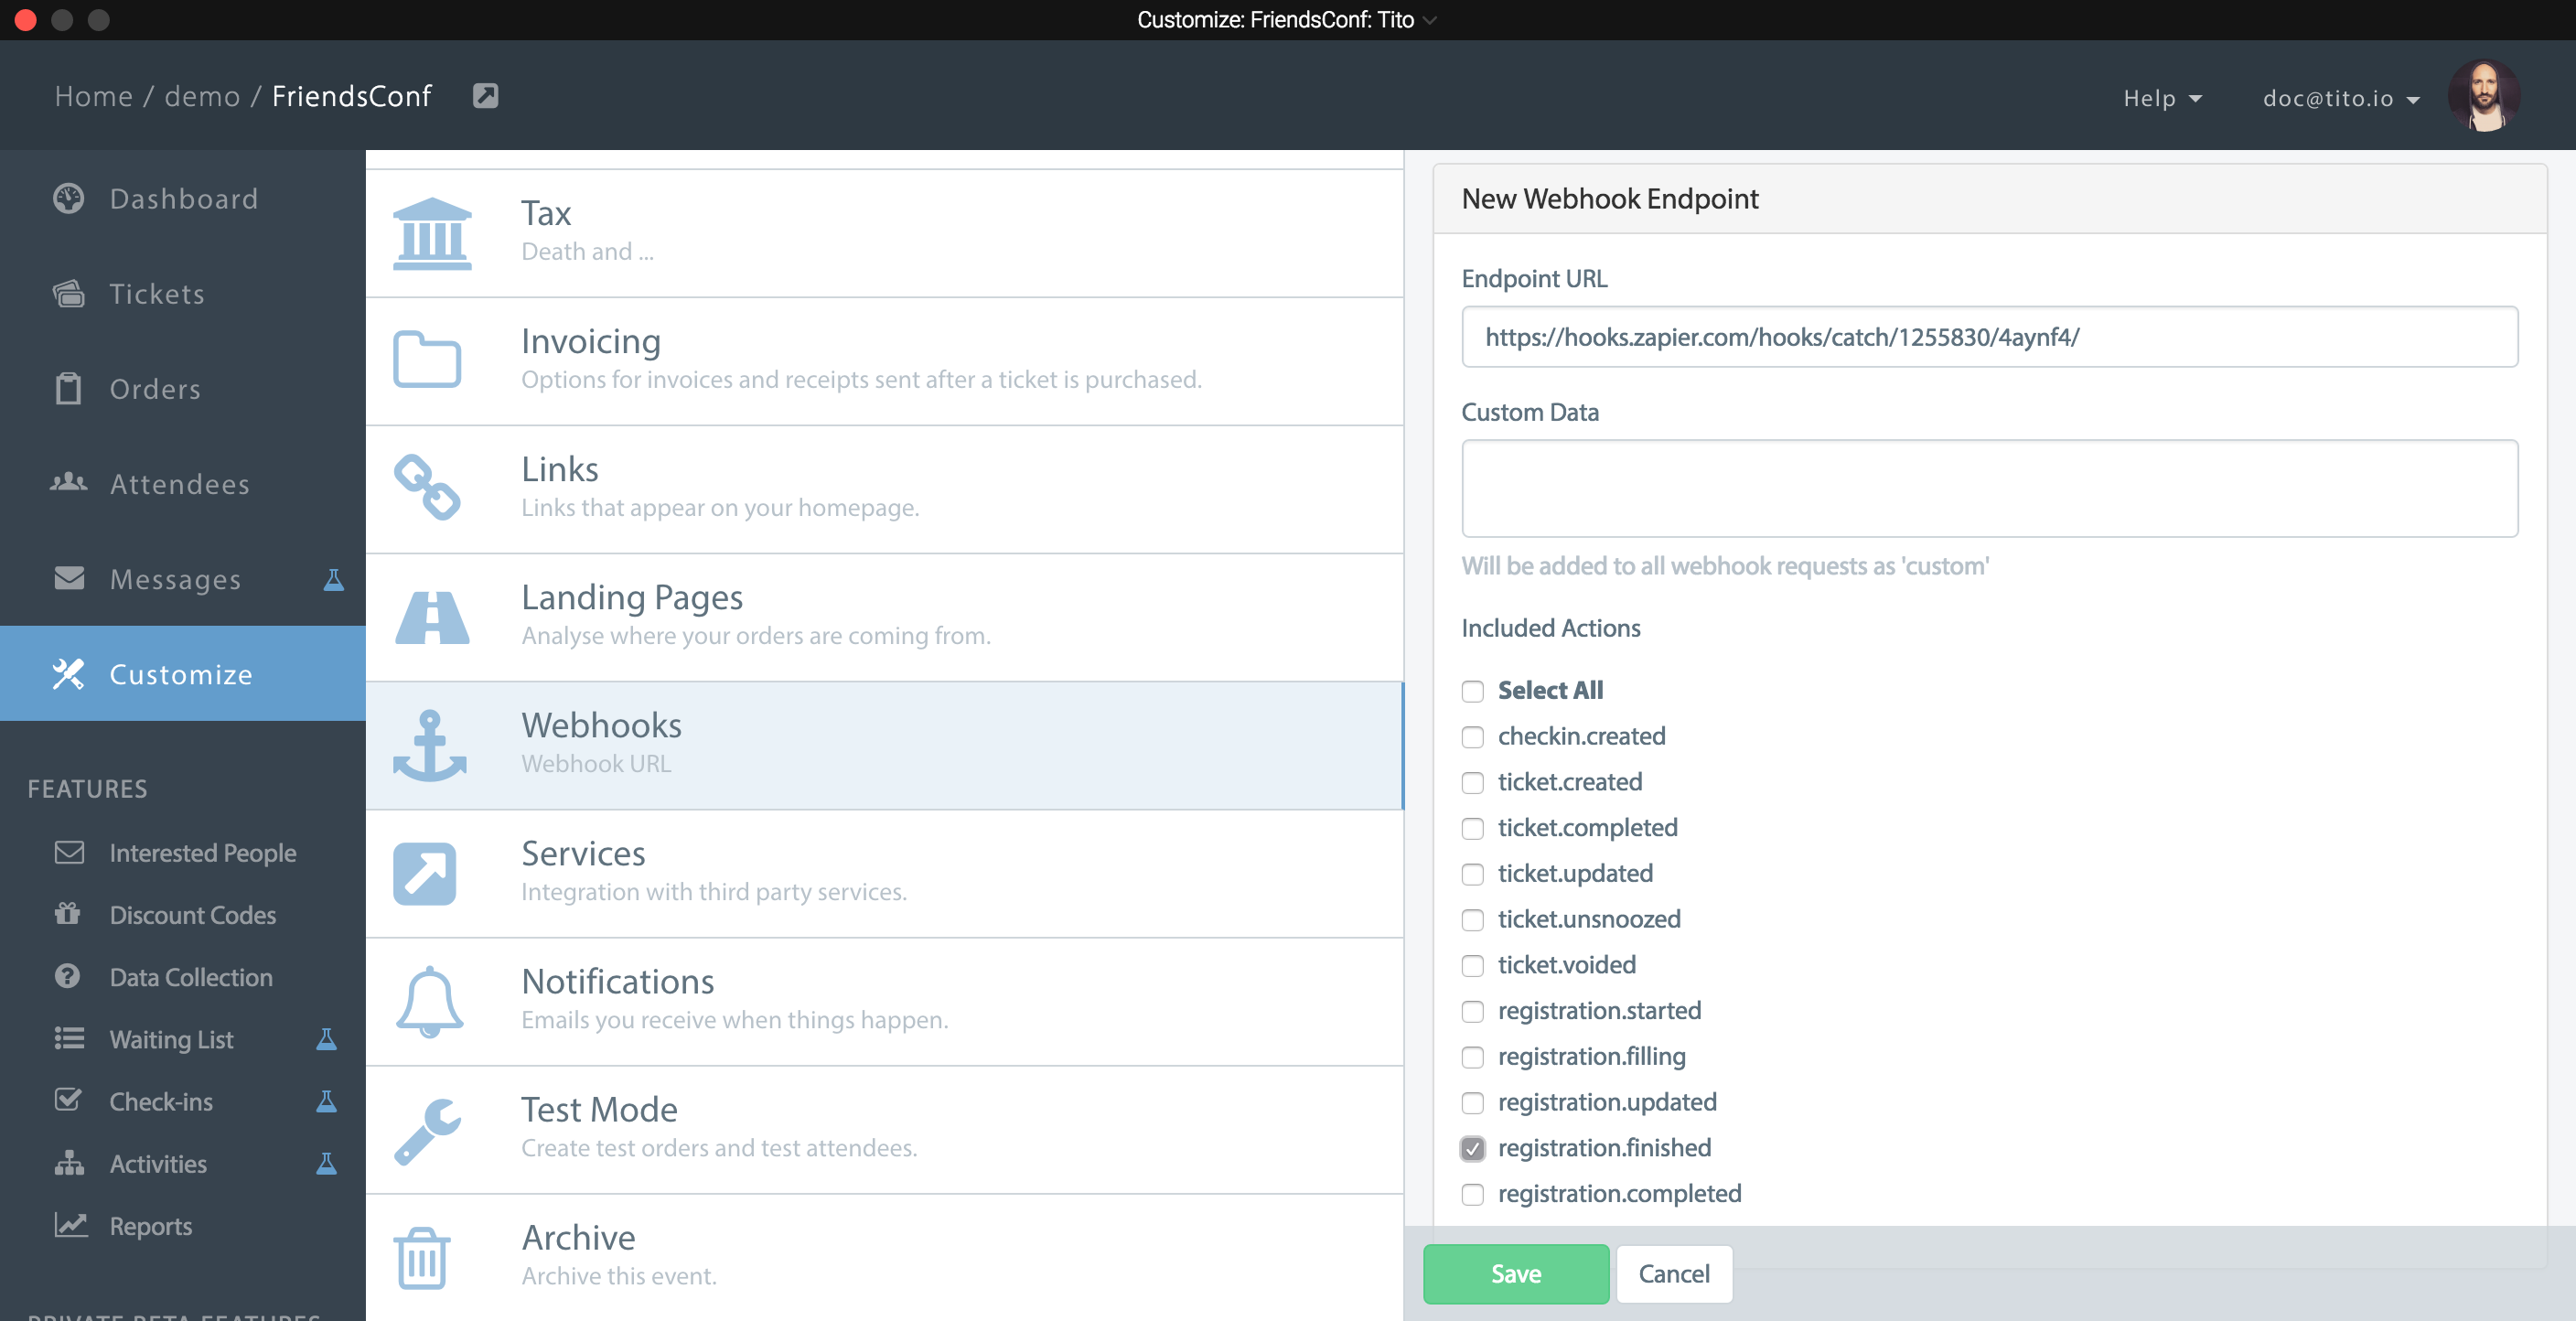
Specify Endpoint and Actions: paste the Zapier URL into “Endpoint URL”, and deselect all the actions and just reselect “registration.finished”. Click “Save”.
Step 9.
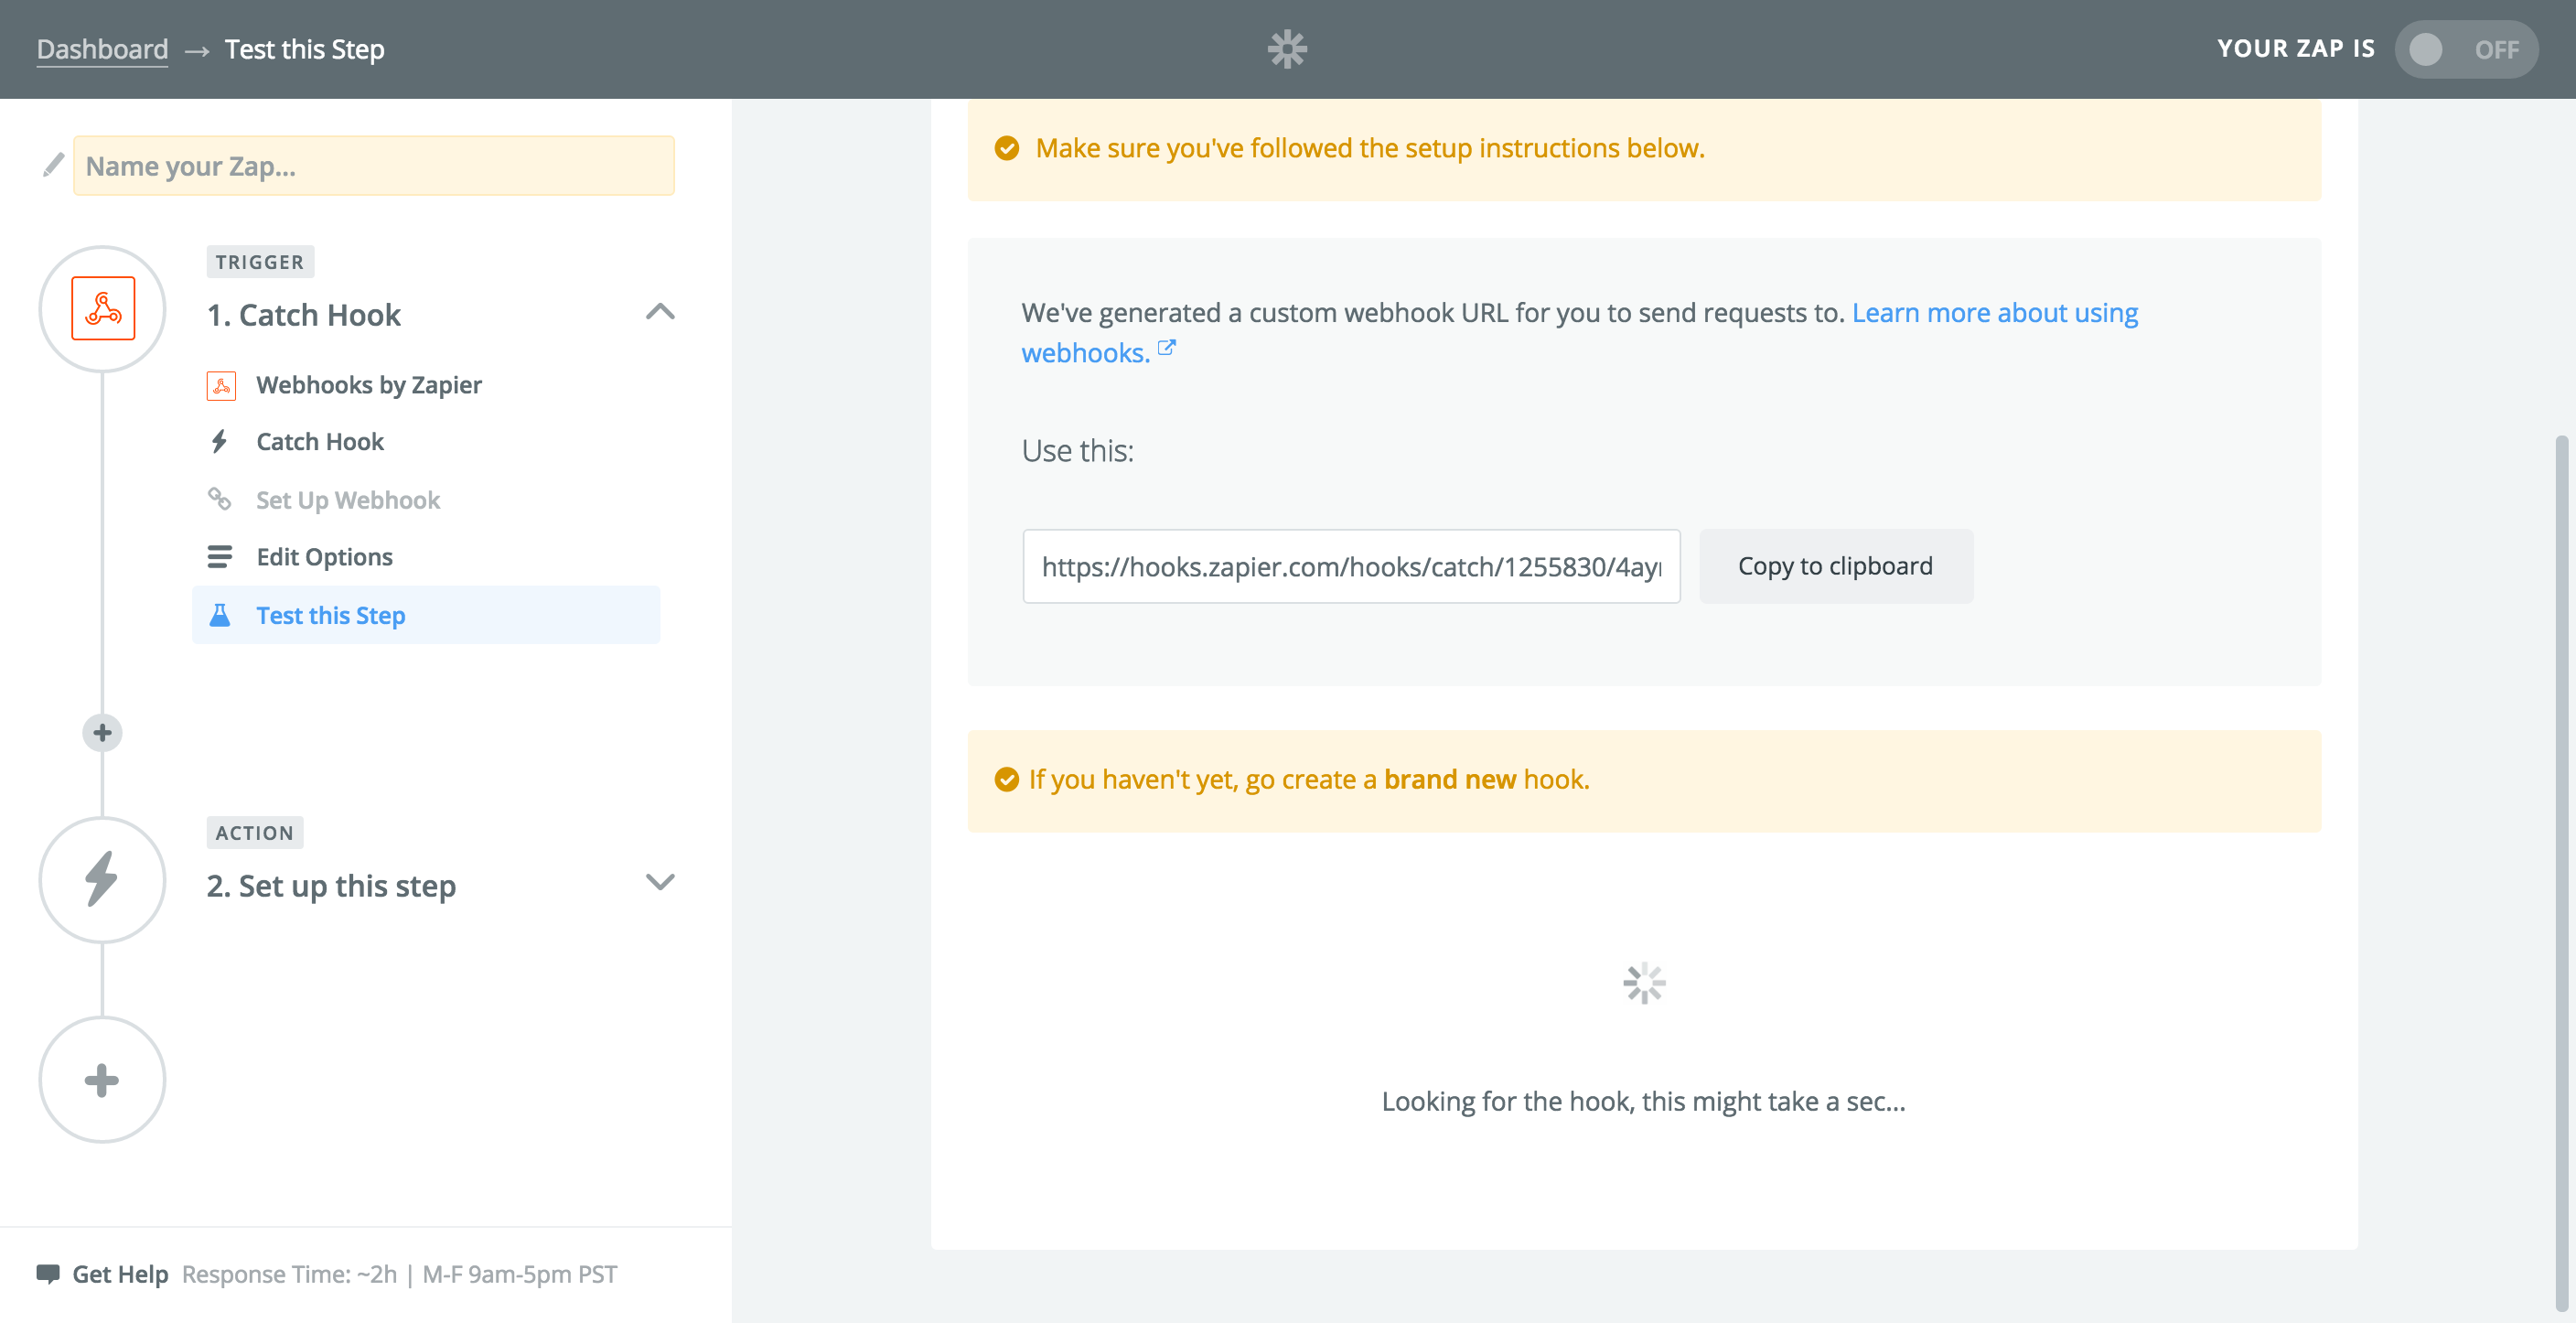
Jump back to Zapier and click “OK, I did this” and you’ll see the message “Looking for the hook, this might take a sec…”
Step 10.
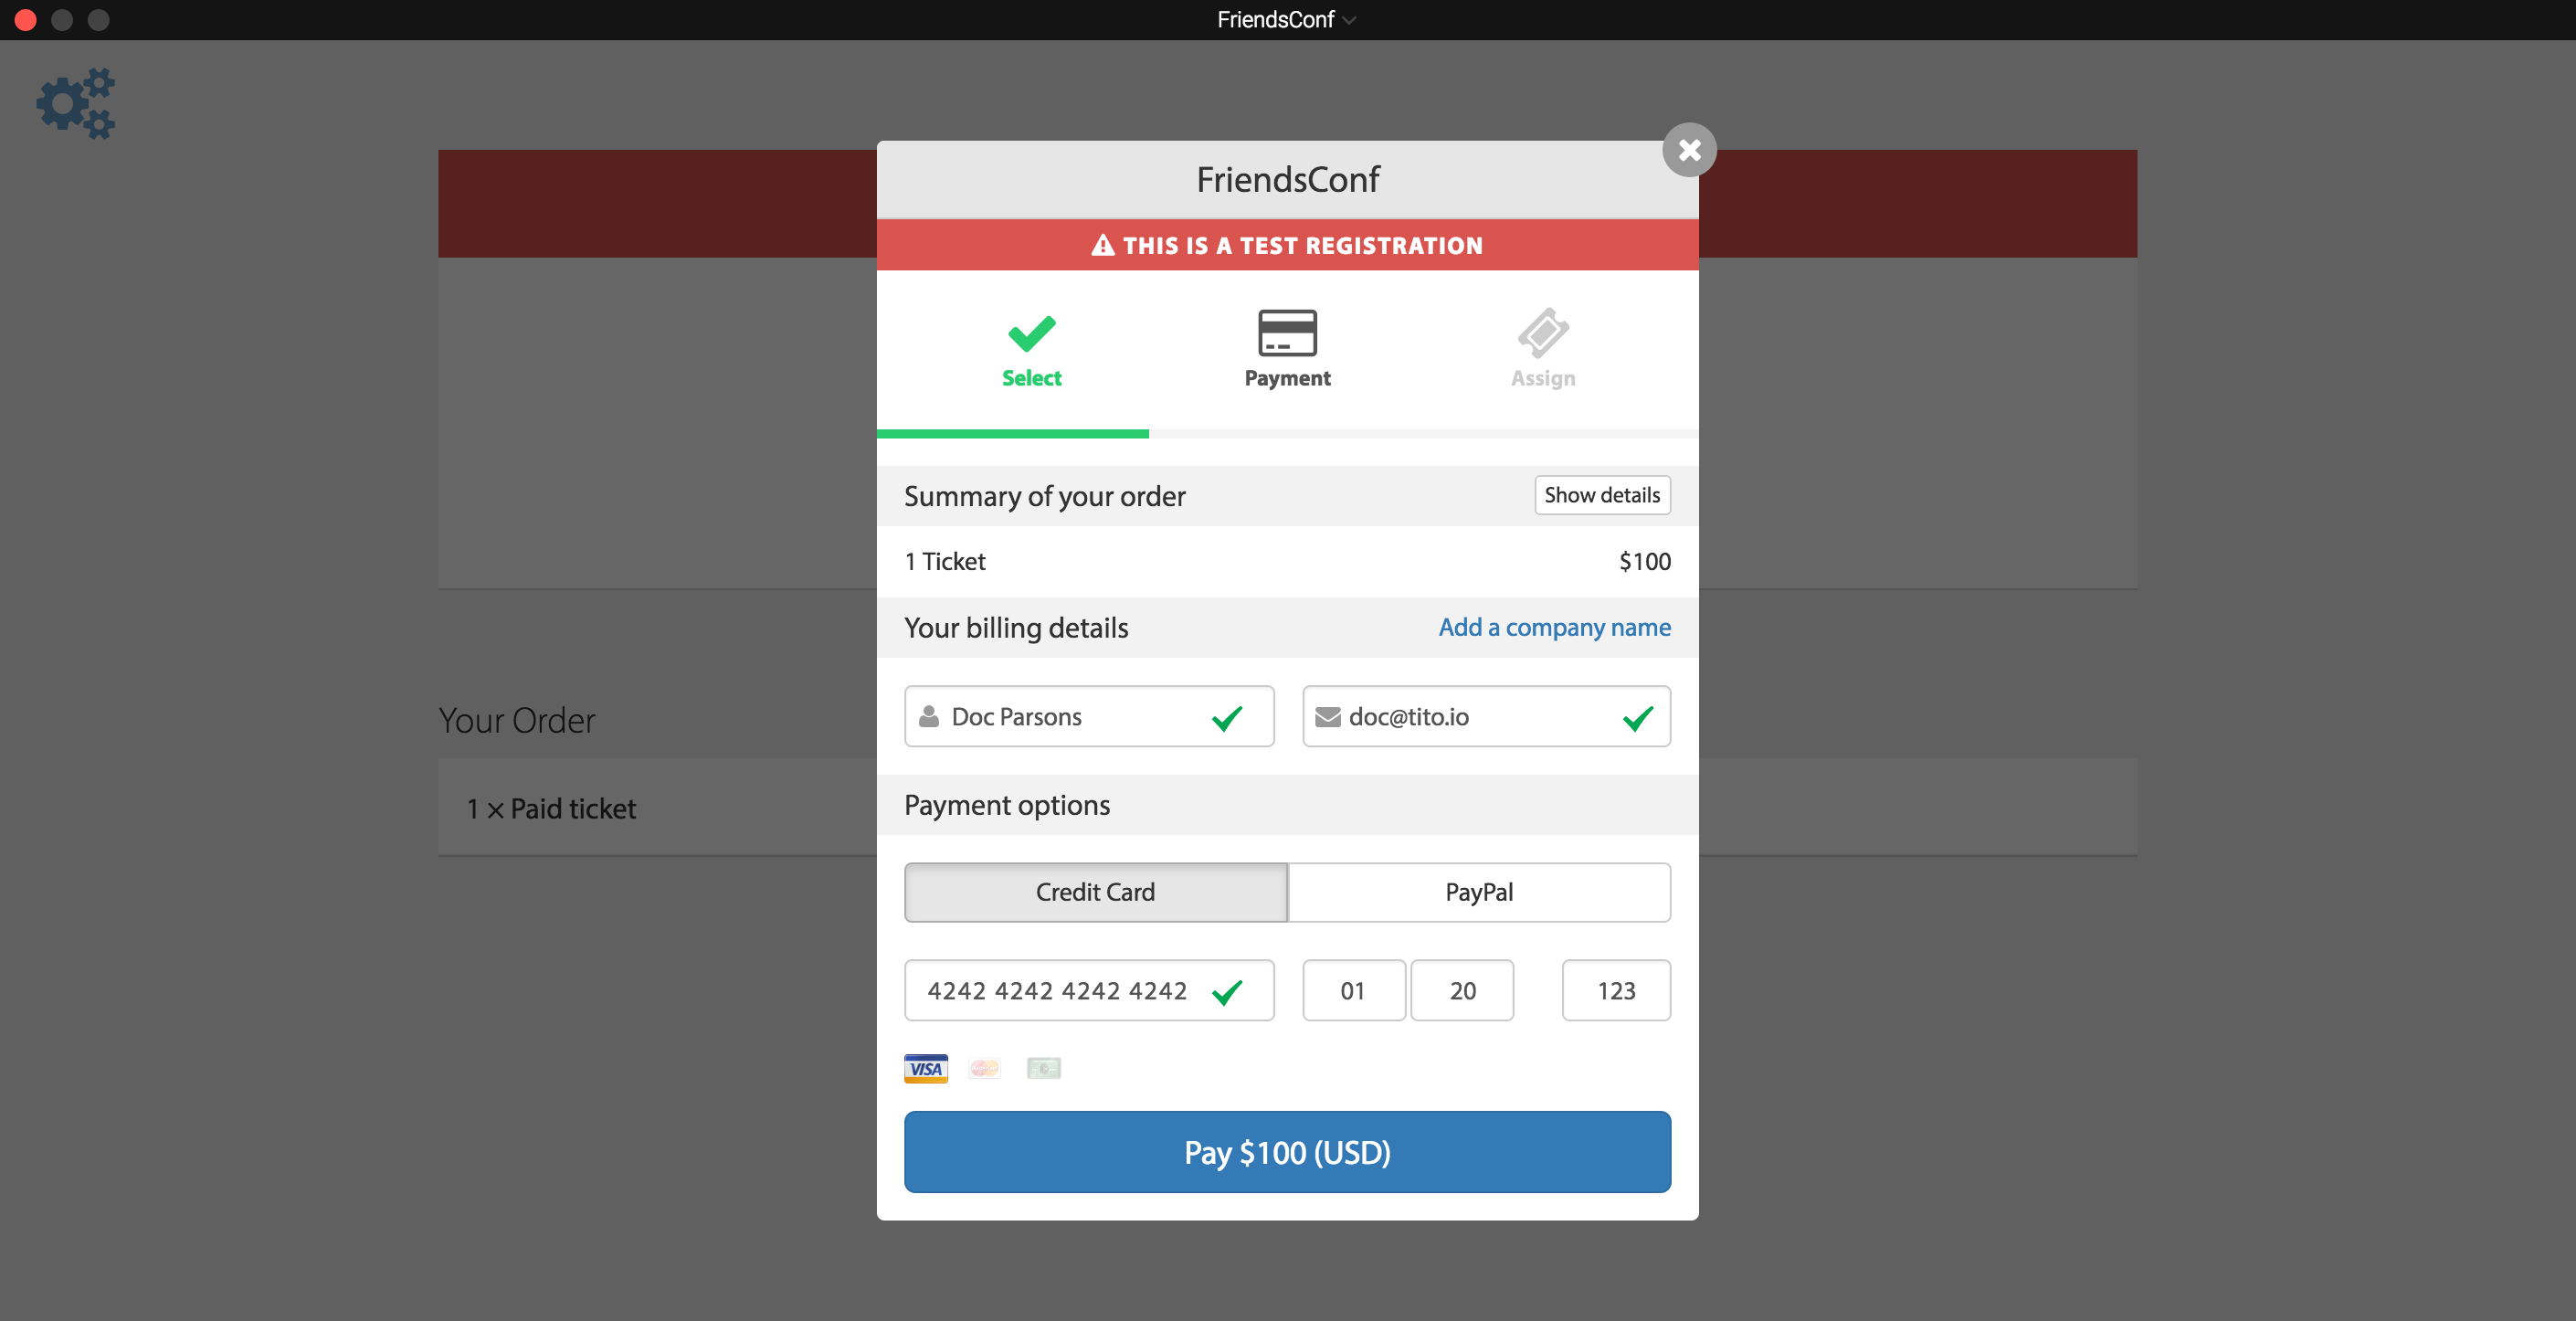
Jump back to Tito and place an order for the event. For paid tickets, if you are in Test Mode you can use the Stripe test card: 4242 4242 4242 4242 Exp. 01/20 CVV 123
Step 11.
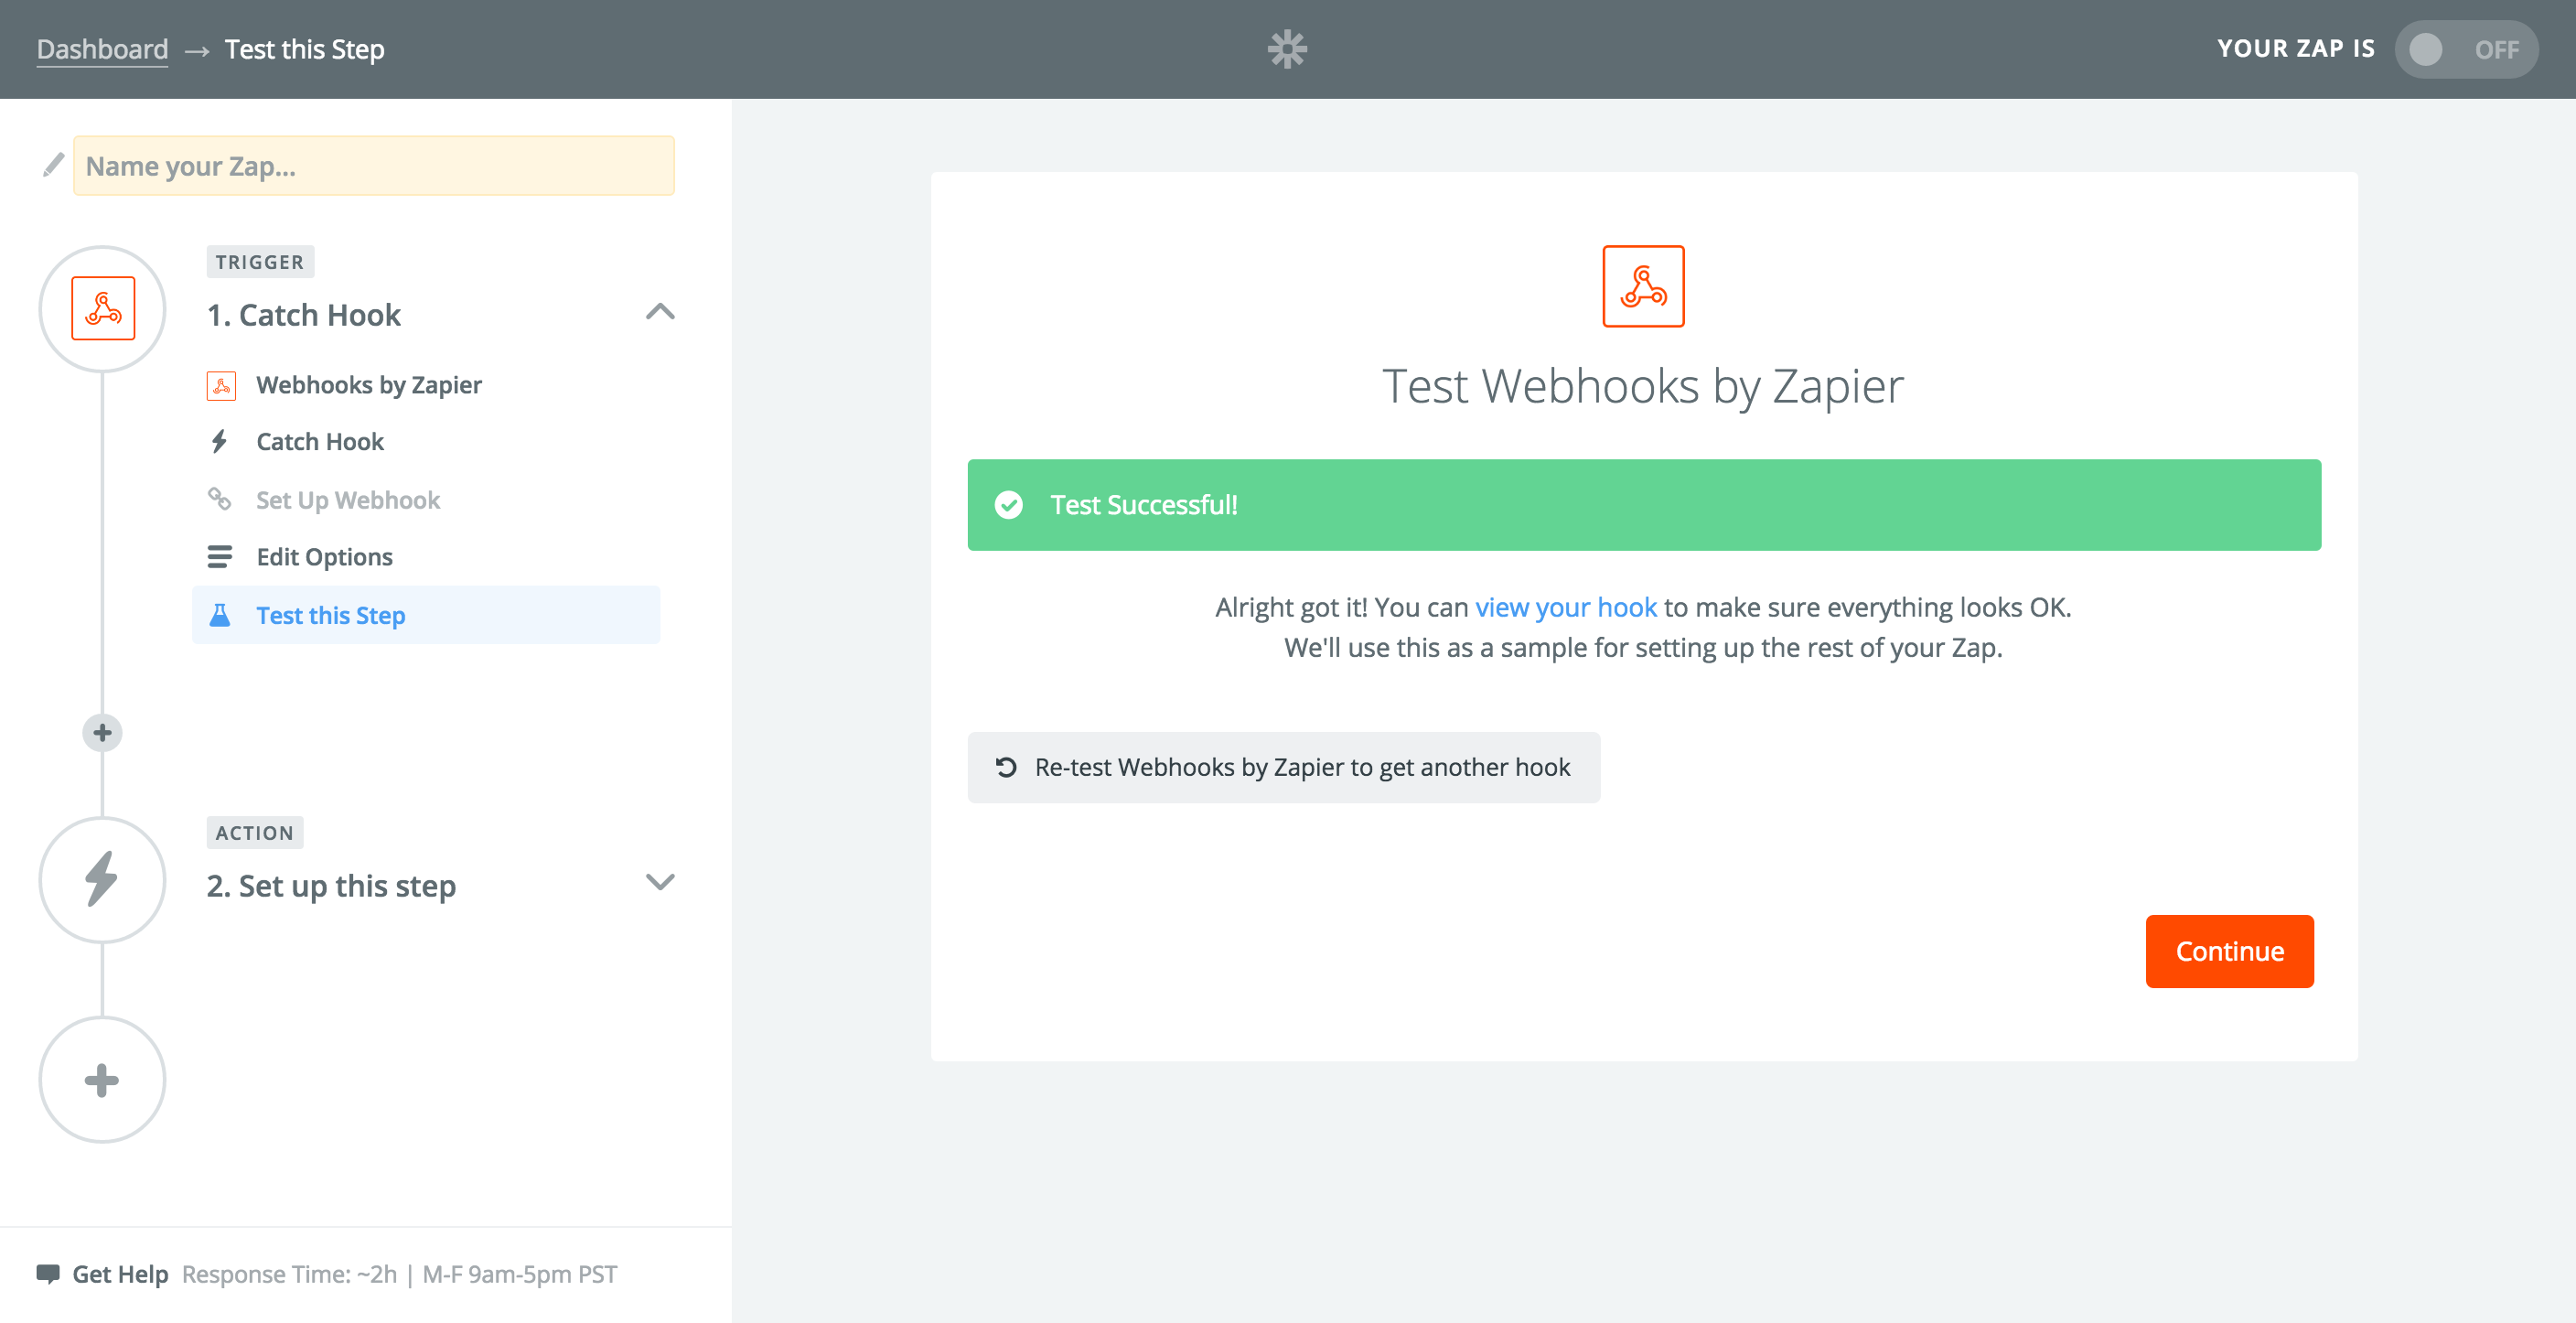
Jump back to Zapier and you should see the “Test Successful!” message. Click “Continue”. If the hook times out, just rerun it and place another order in Tito.
Step 12.
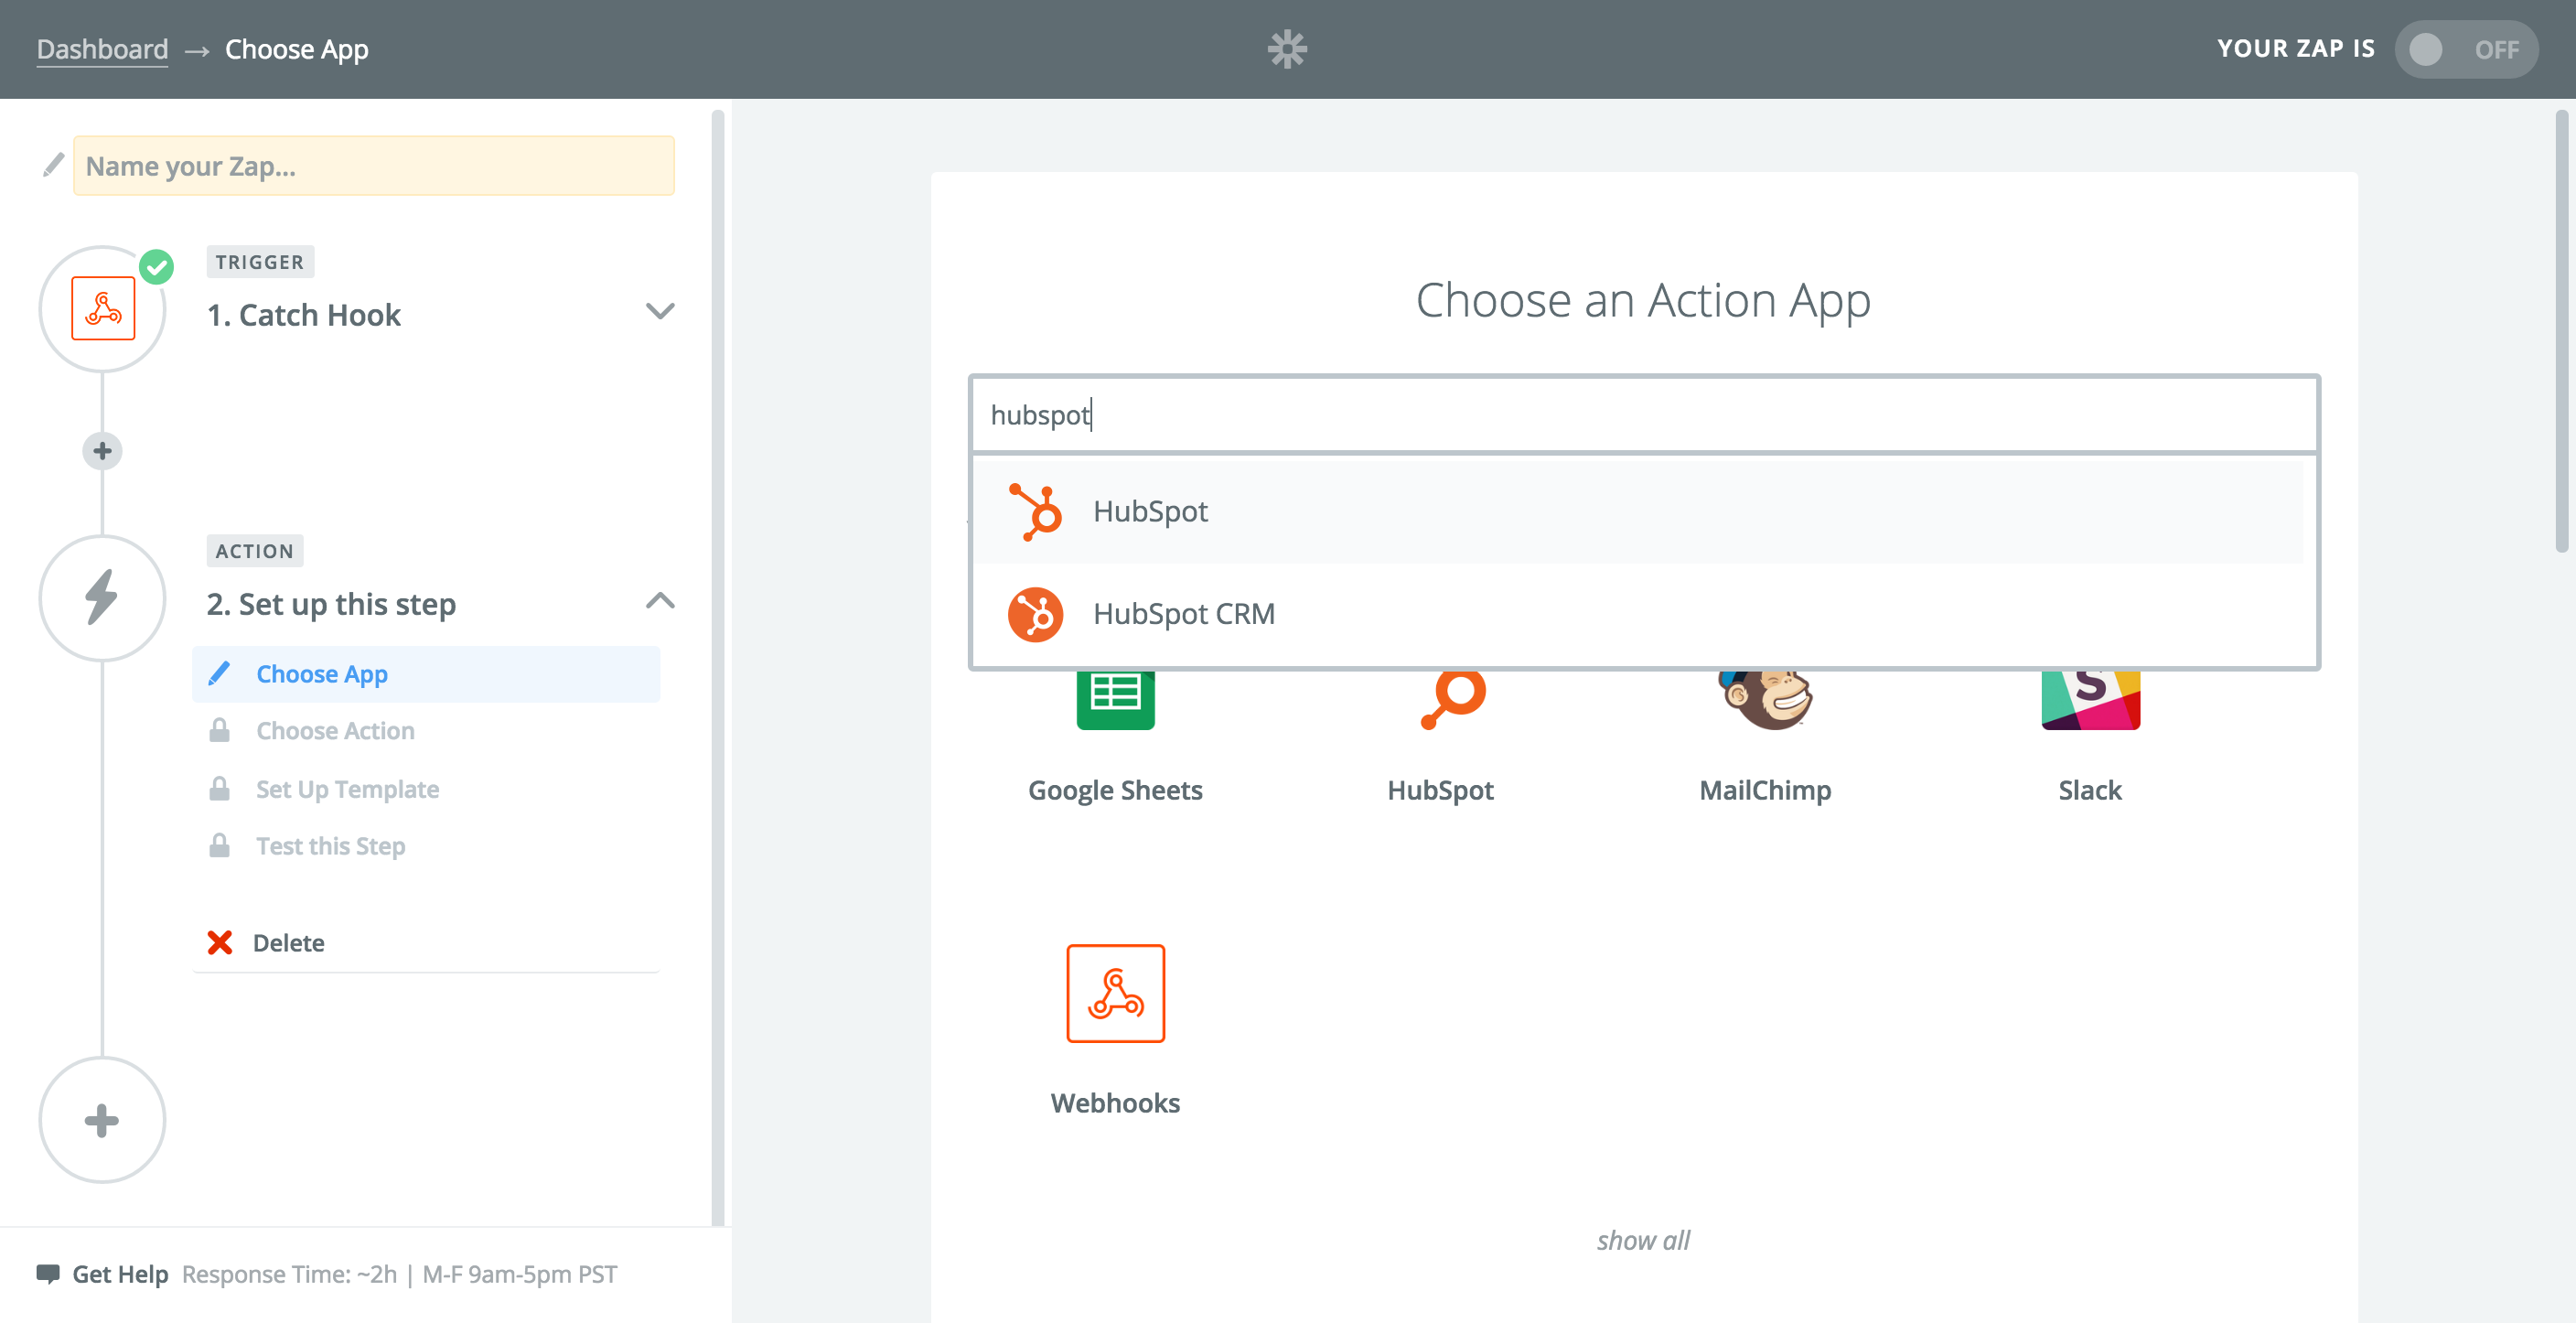
Choose an Action App: search for “HubSpot” and you get two options “HubSpot” or “HubSpot CRM” — select “HubSpot”
Step 13.

Select HubSpot Action: choose the “Create or Update Contact” action. Click “Save + Continue”.
Step 14.
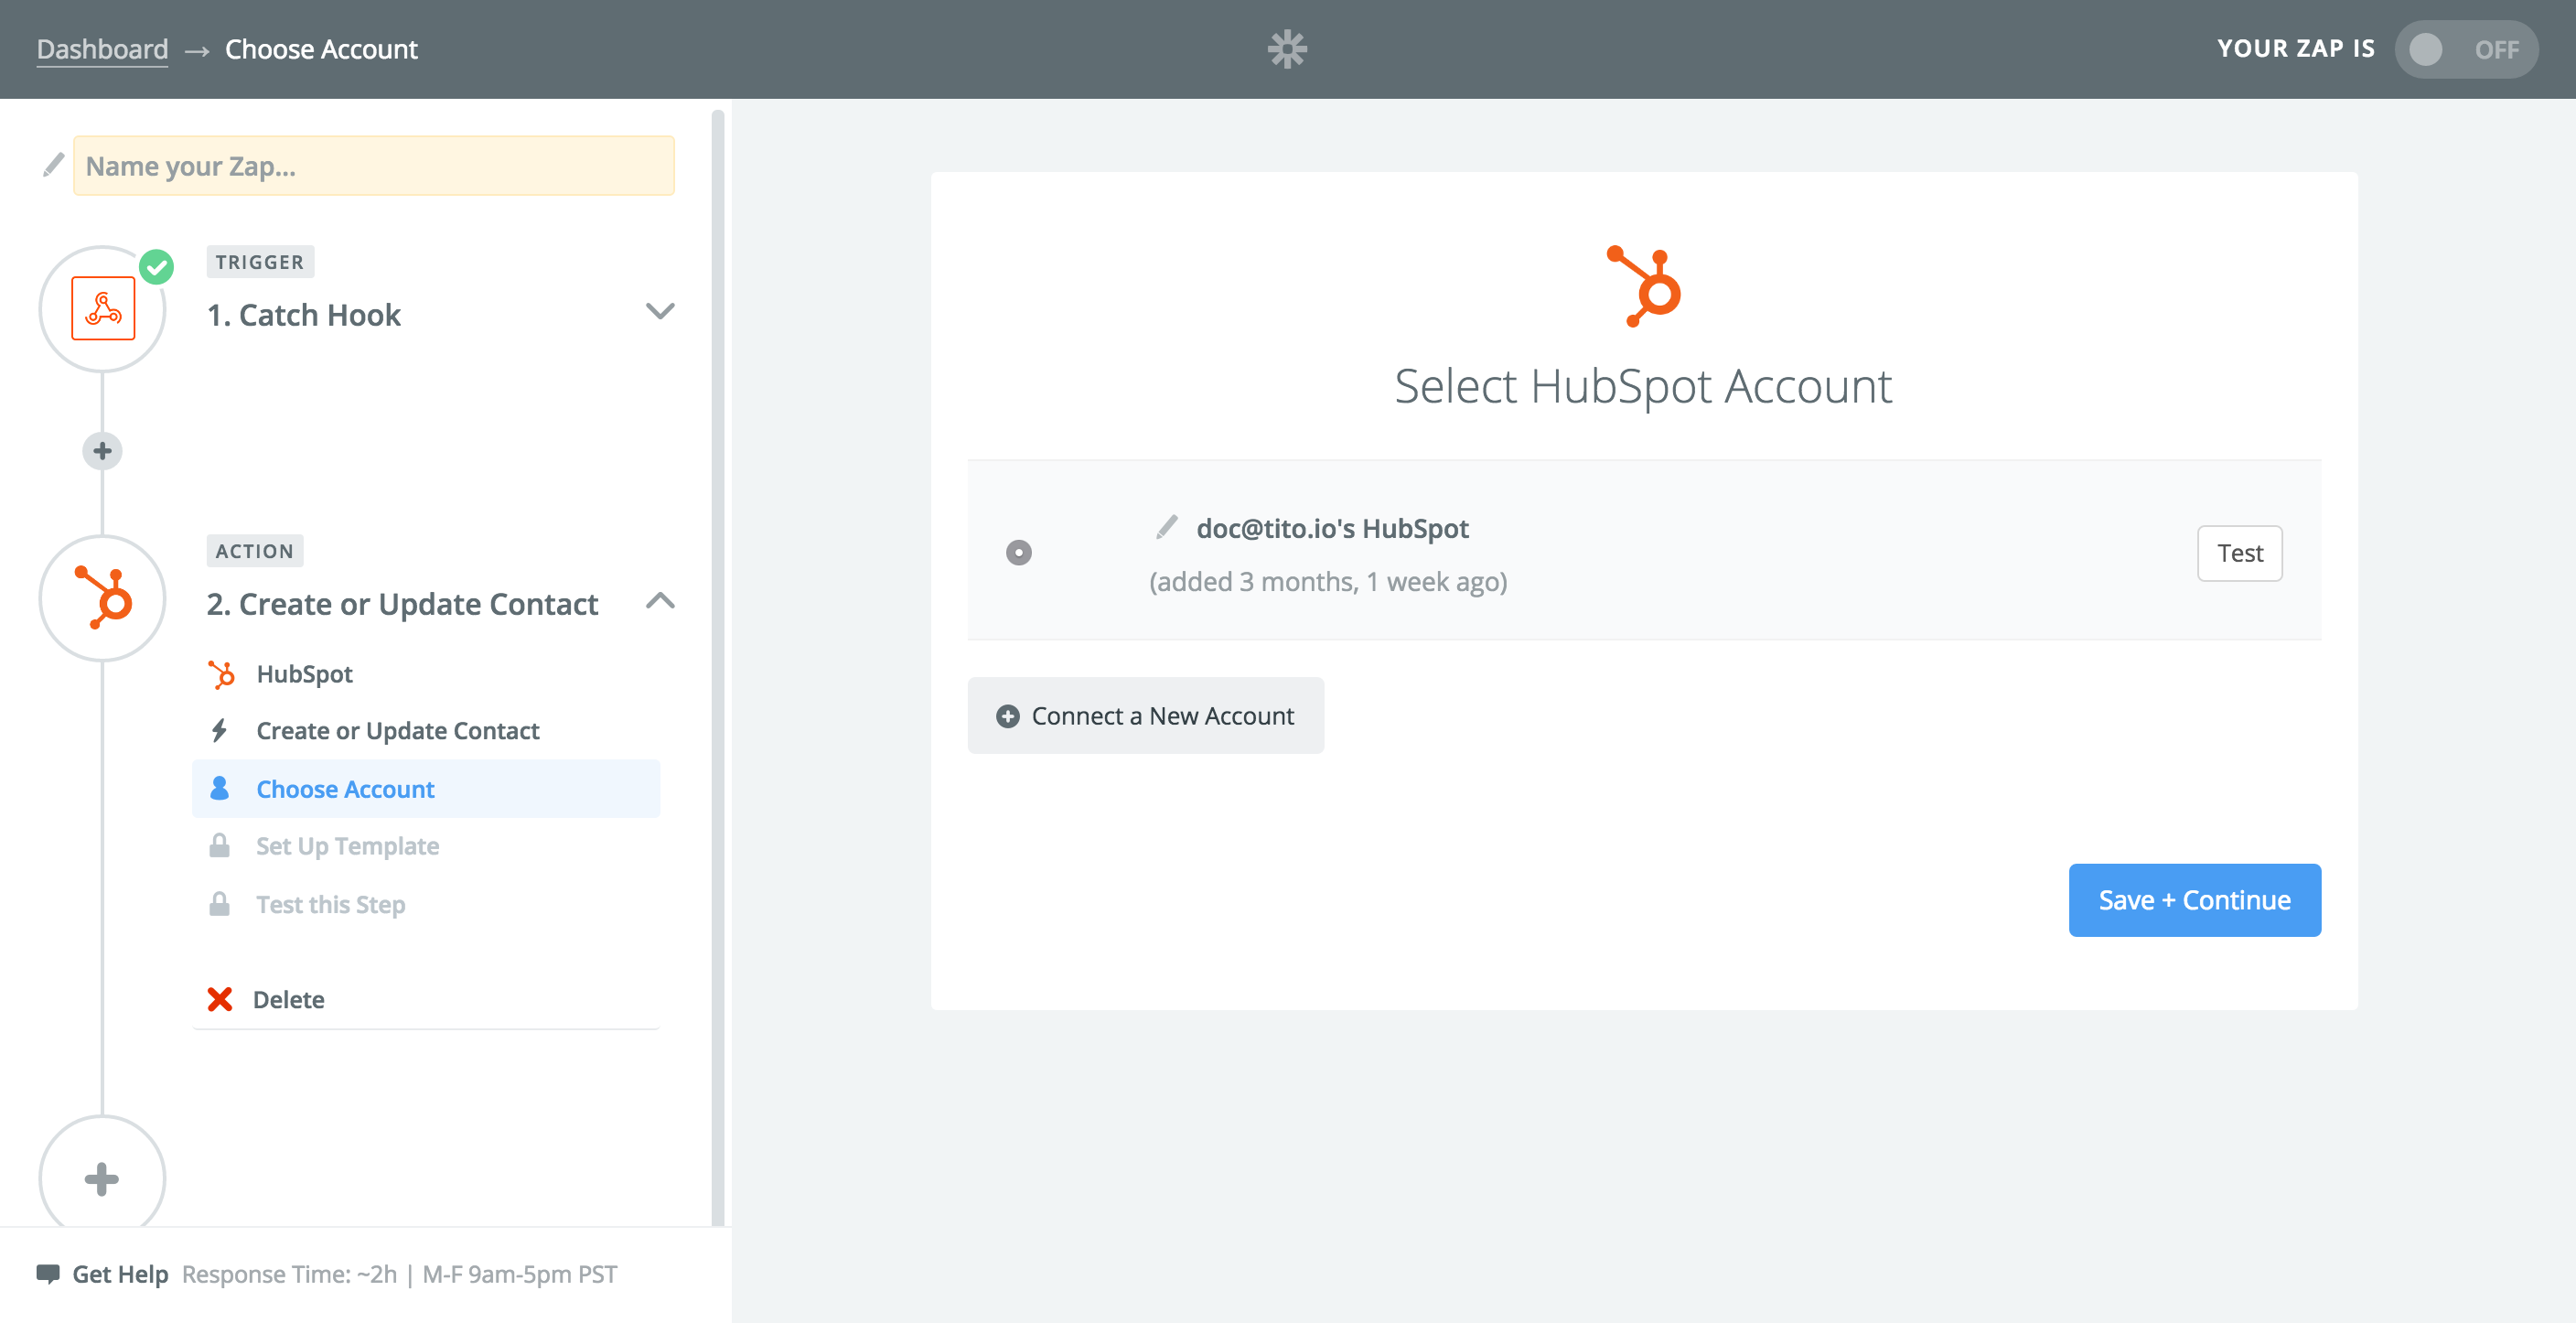
Select HubSpot Account: connect your HubSpot account to Zapier
Step 15.
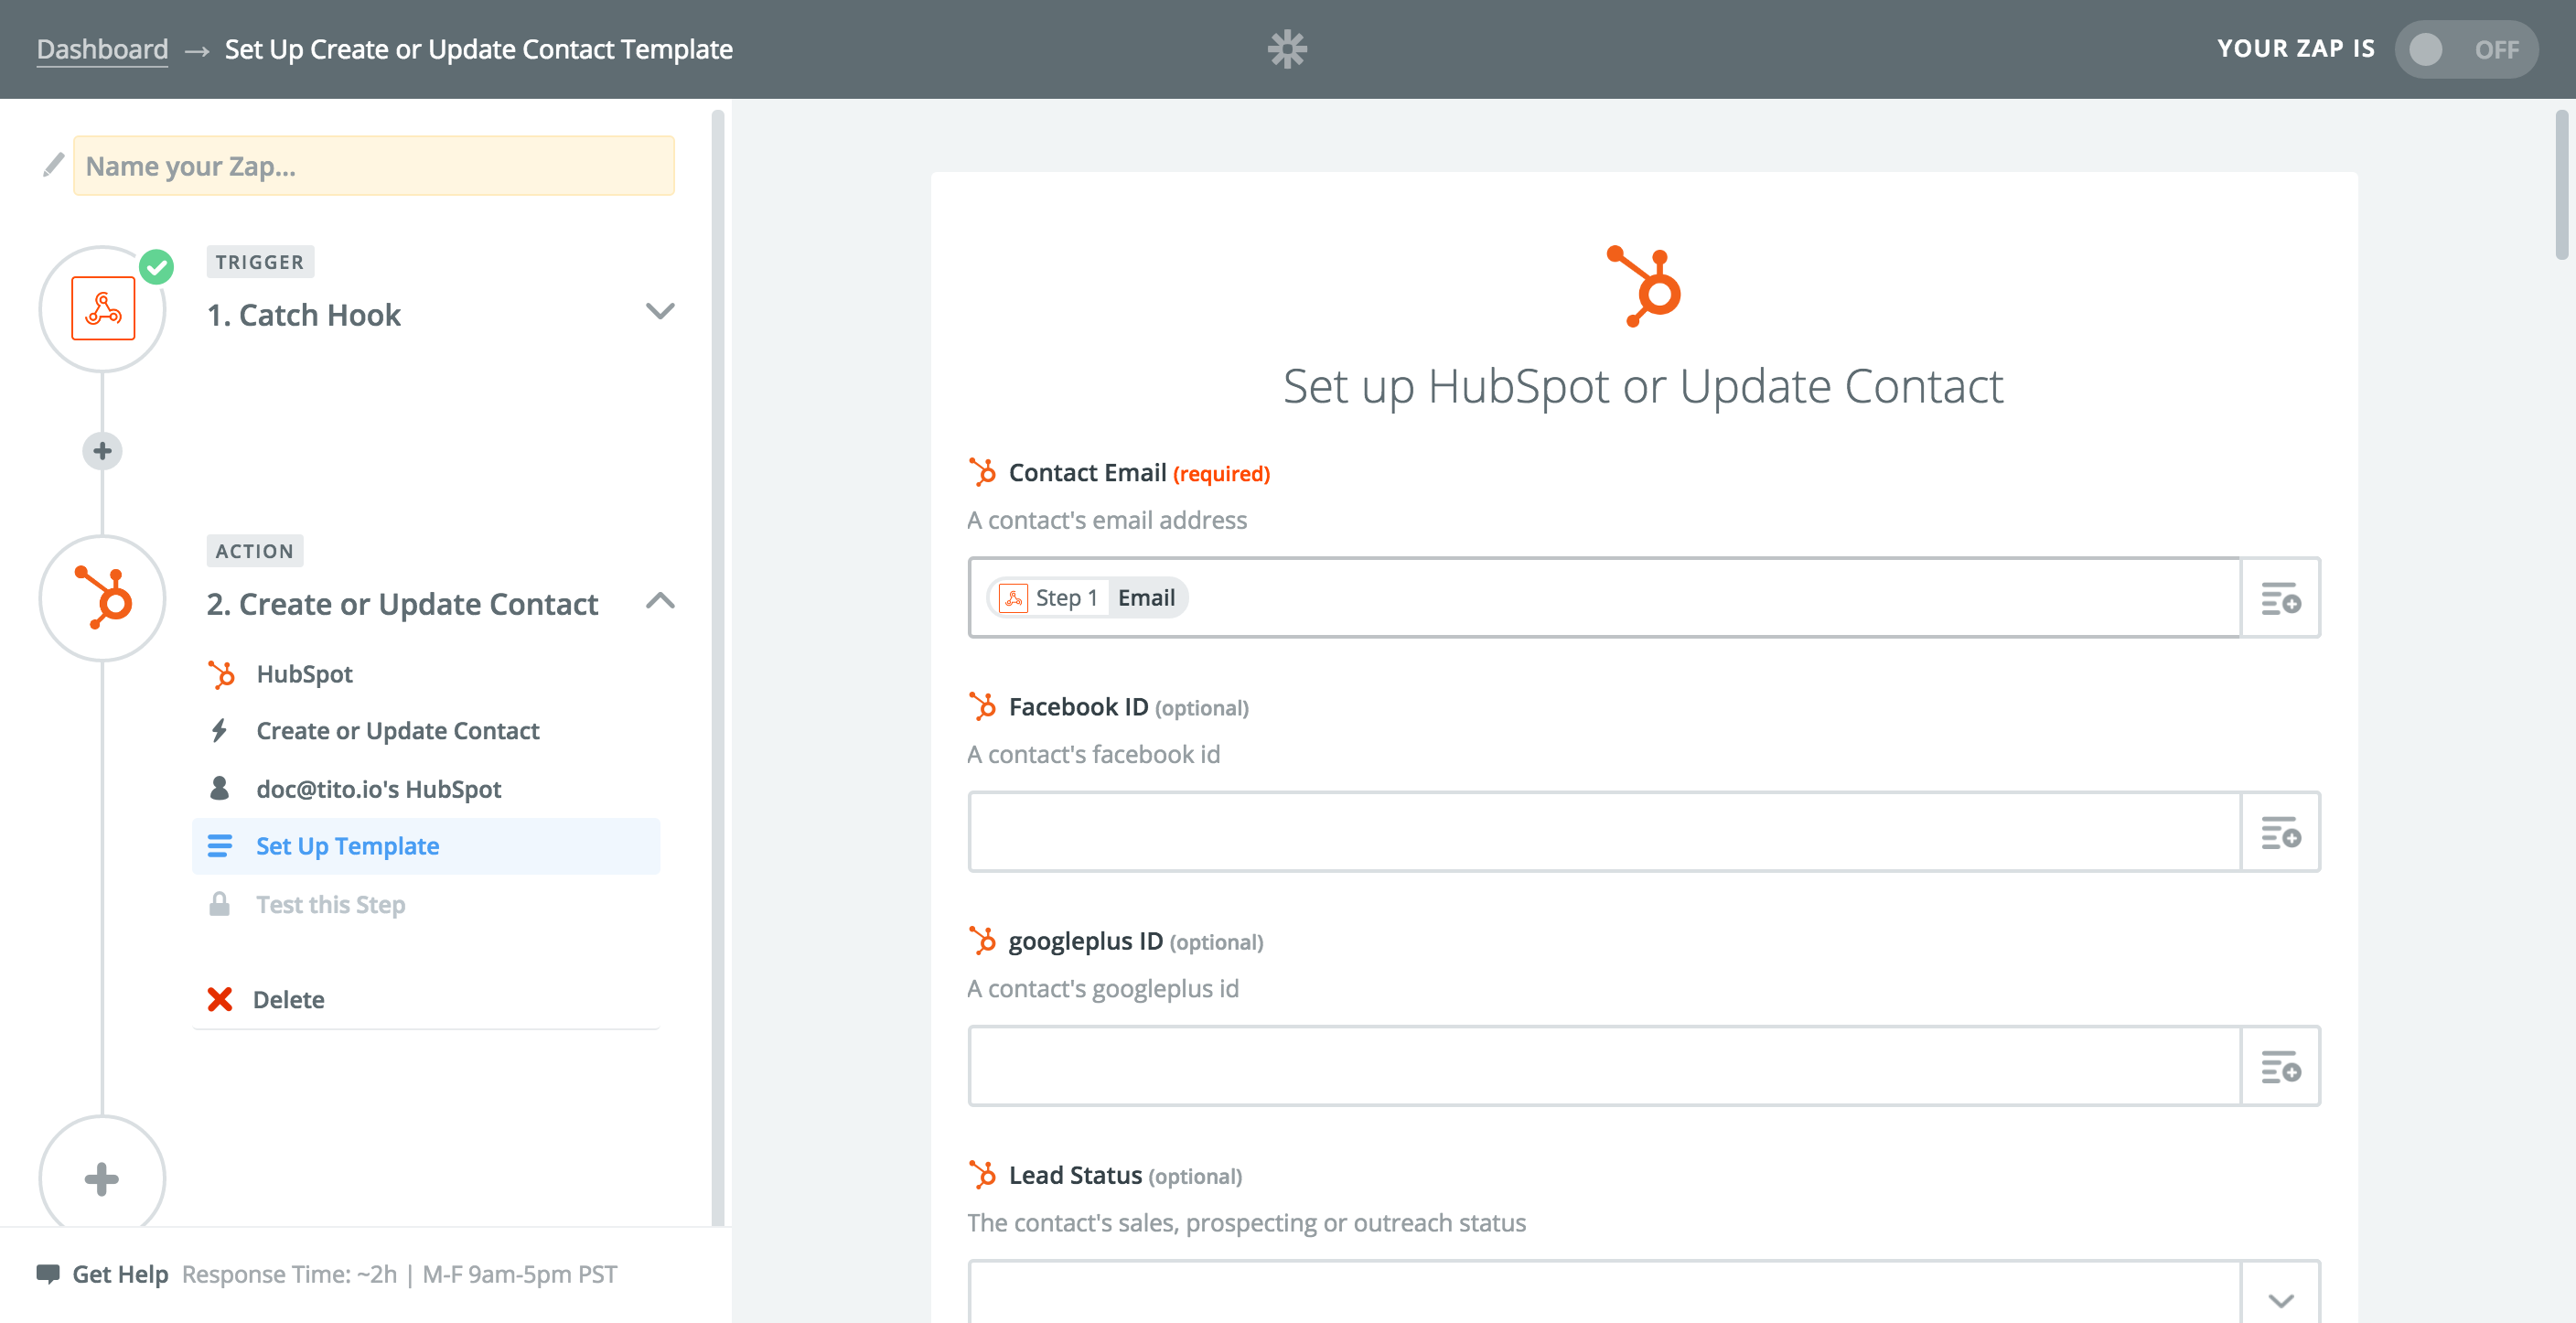
Set up HubSpot or Update Contact: Here you map the fields, so the first one would be “Contact Email” mapped to “Email”. Map all the fields you need. If fields are missing then you’ll need to set them up in Tito, place another order and re-run the Test Step in “Catch Hook” so they are made available. When you’ve mapped the fields, click “Continue”
Step 16.
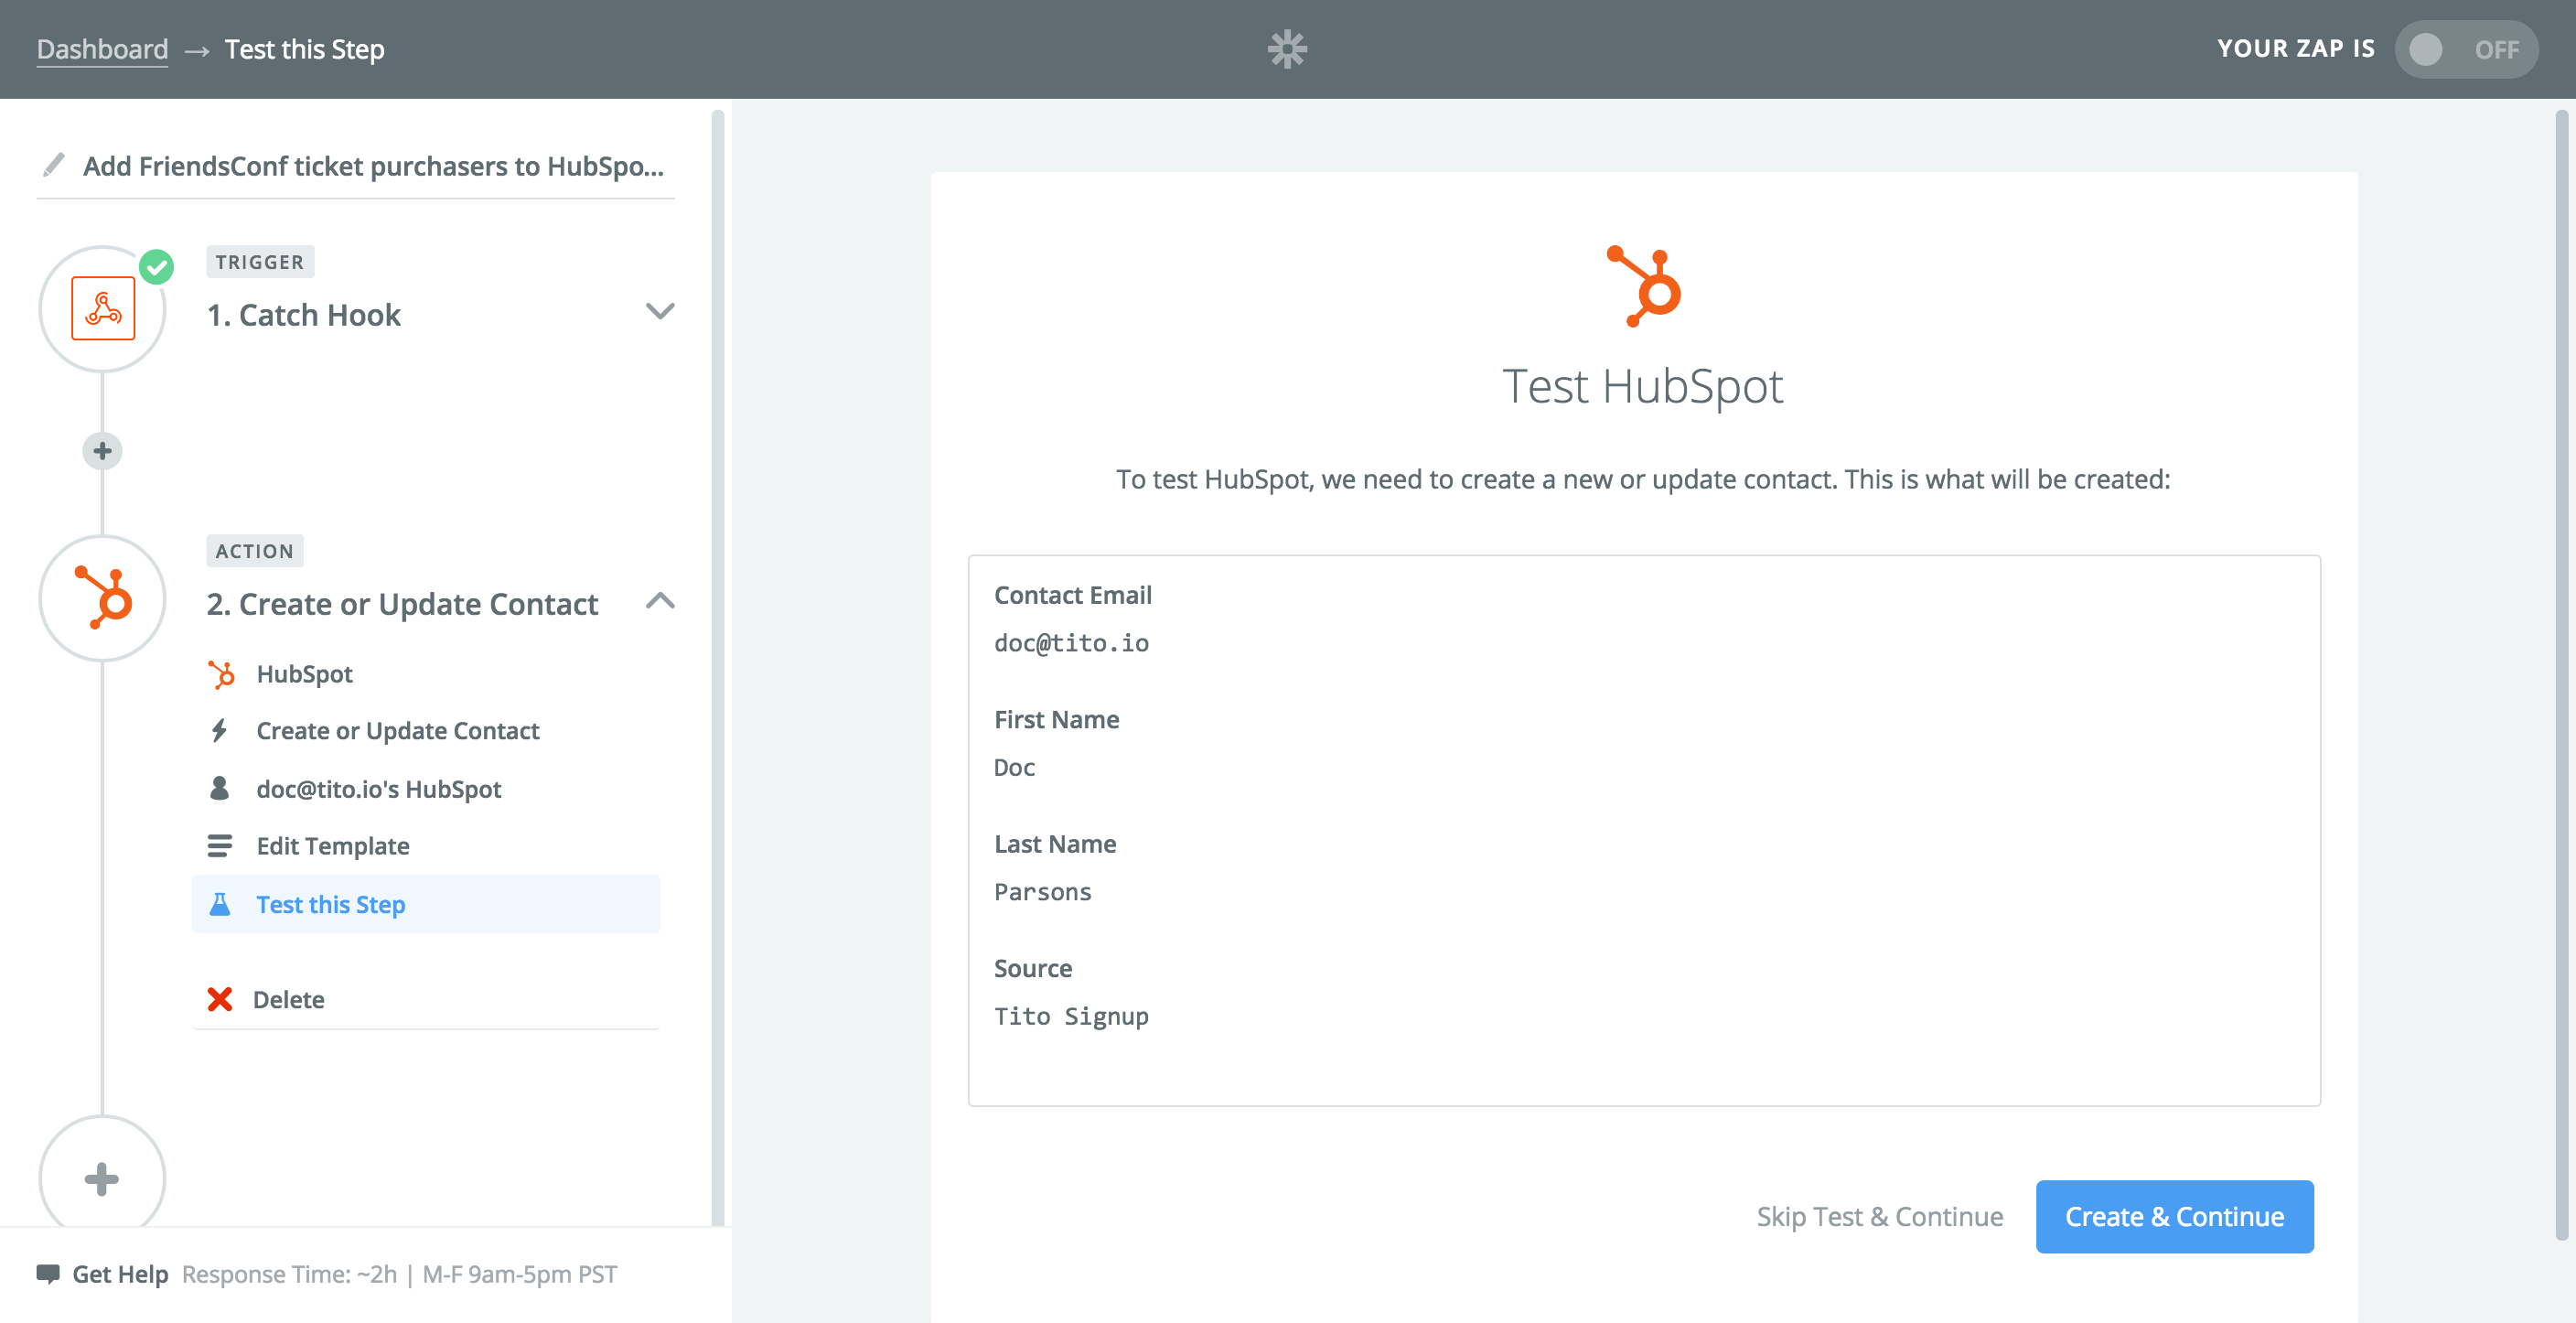
Test HubSpot: click “Create & Continue”
Step 17.
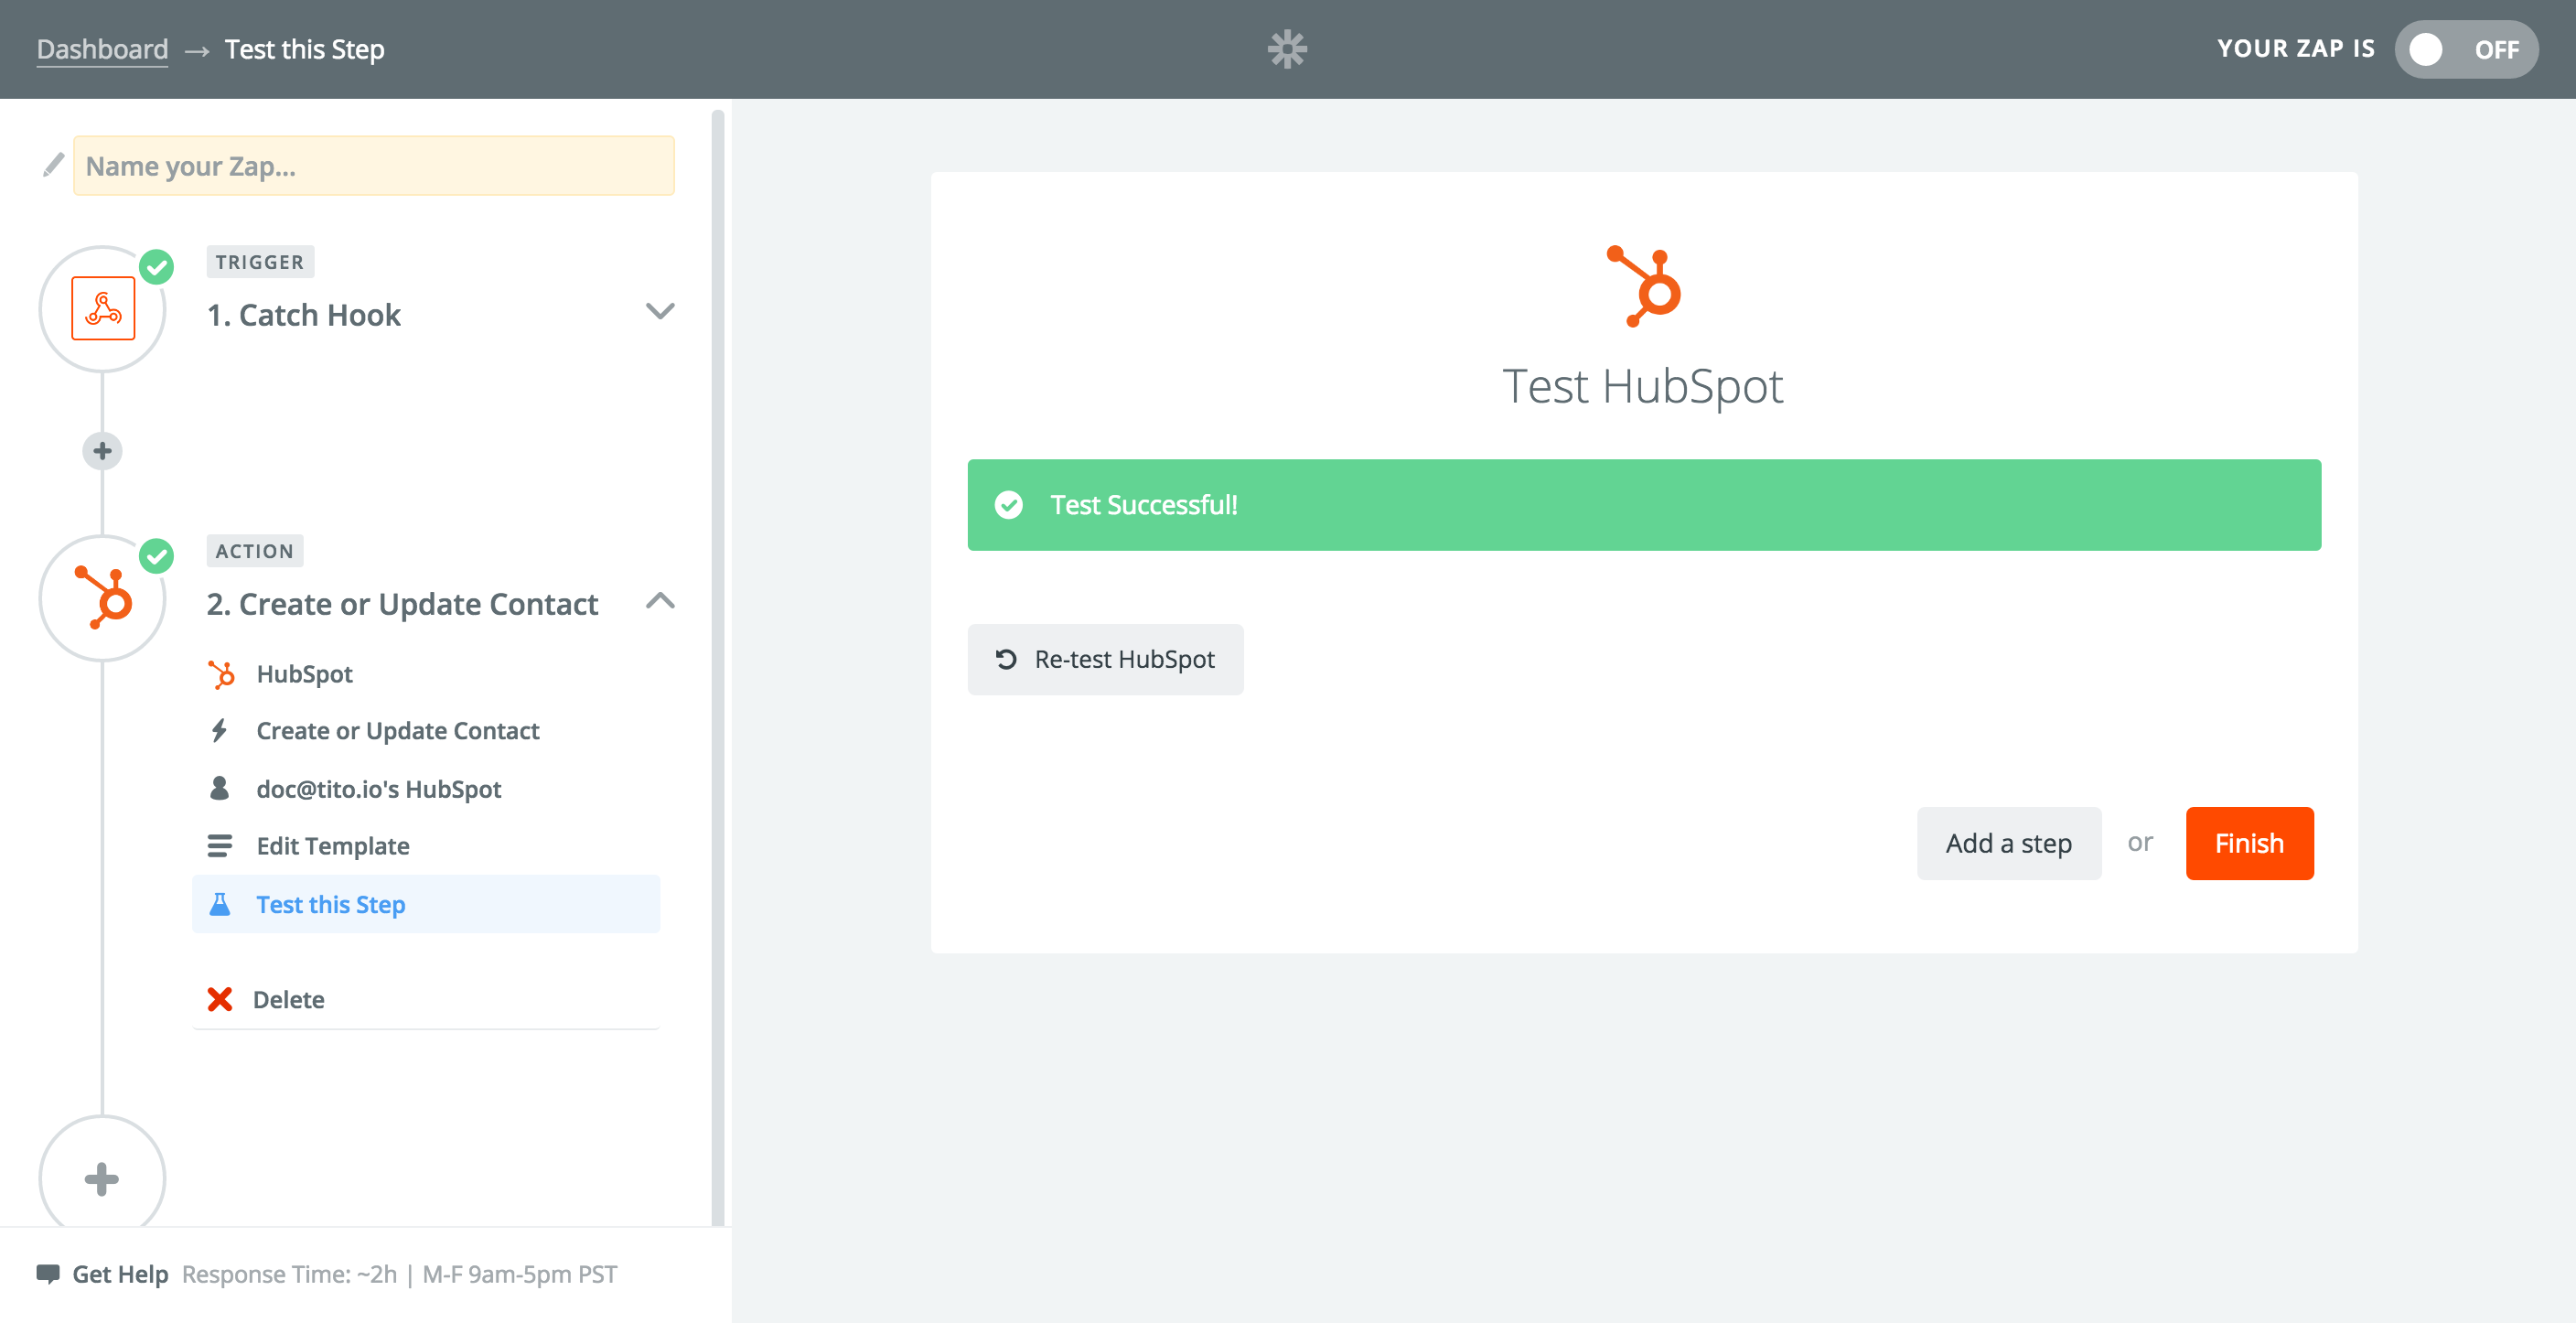
You should see “Test Successful!” ?
Step 18.
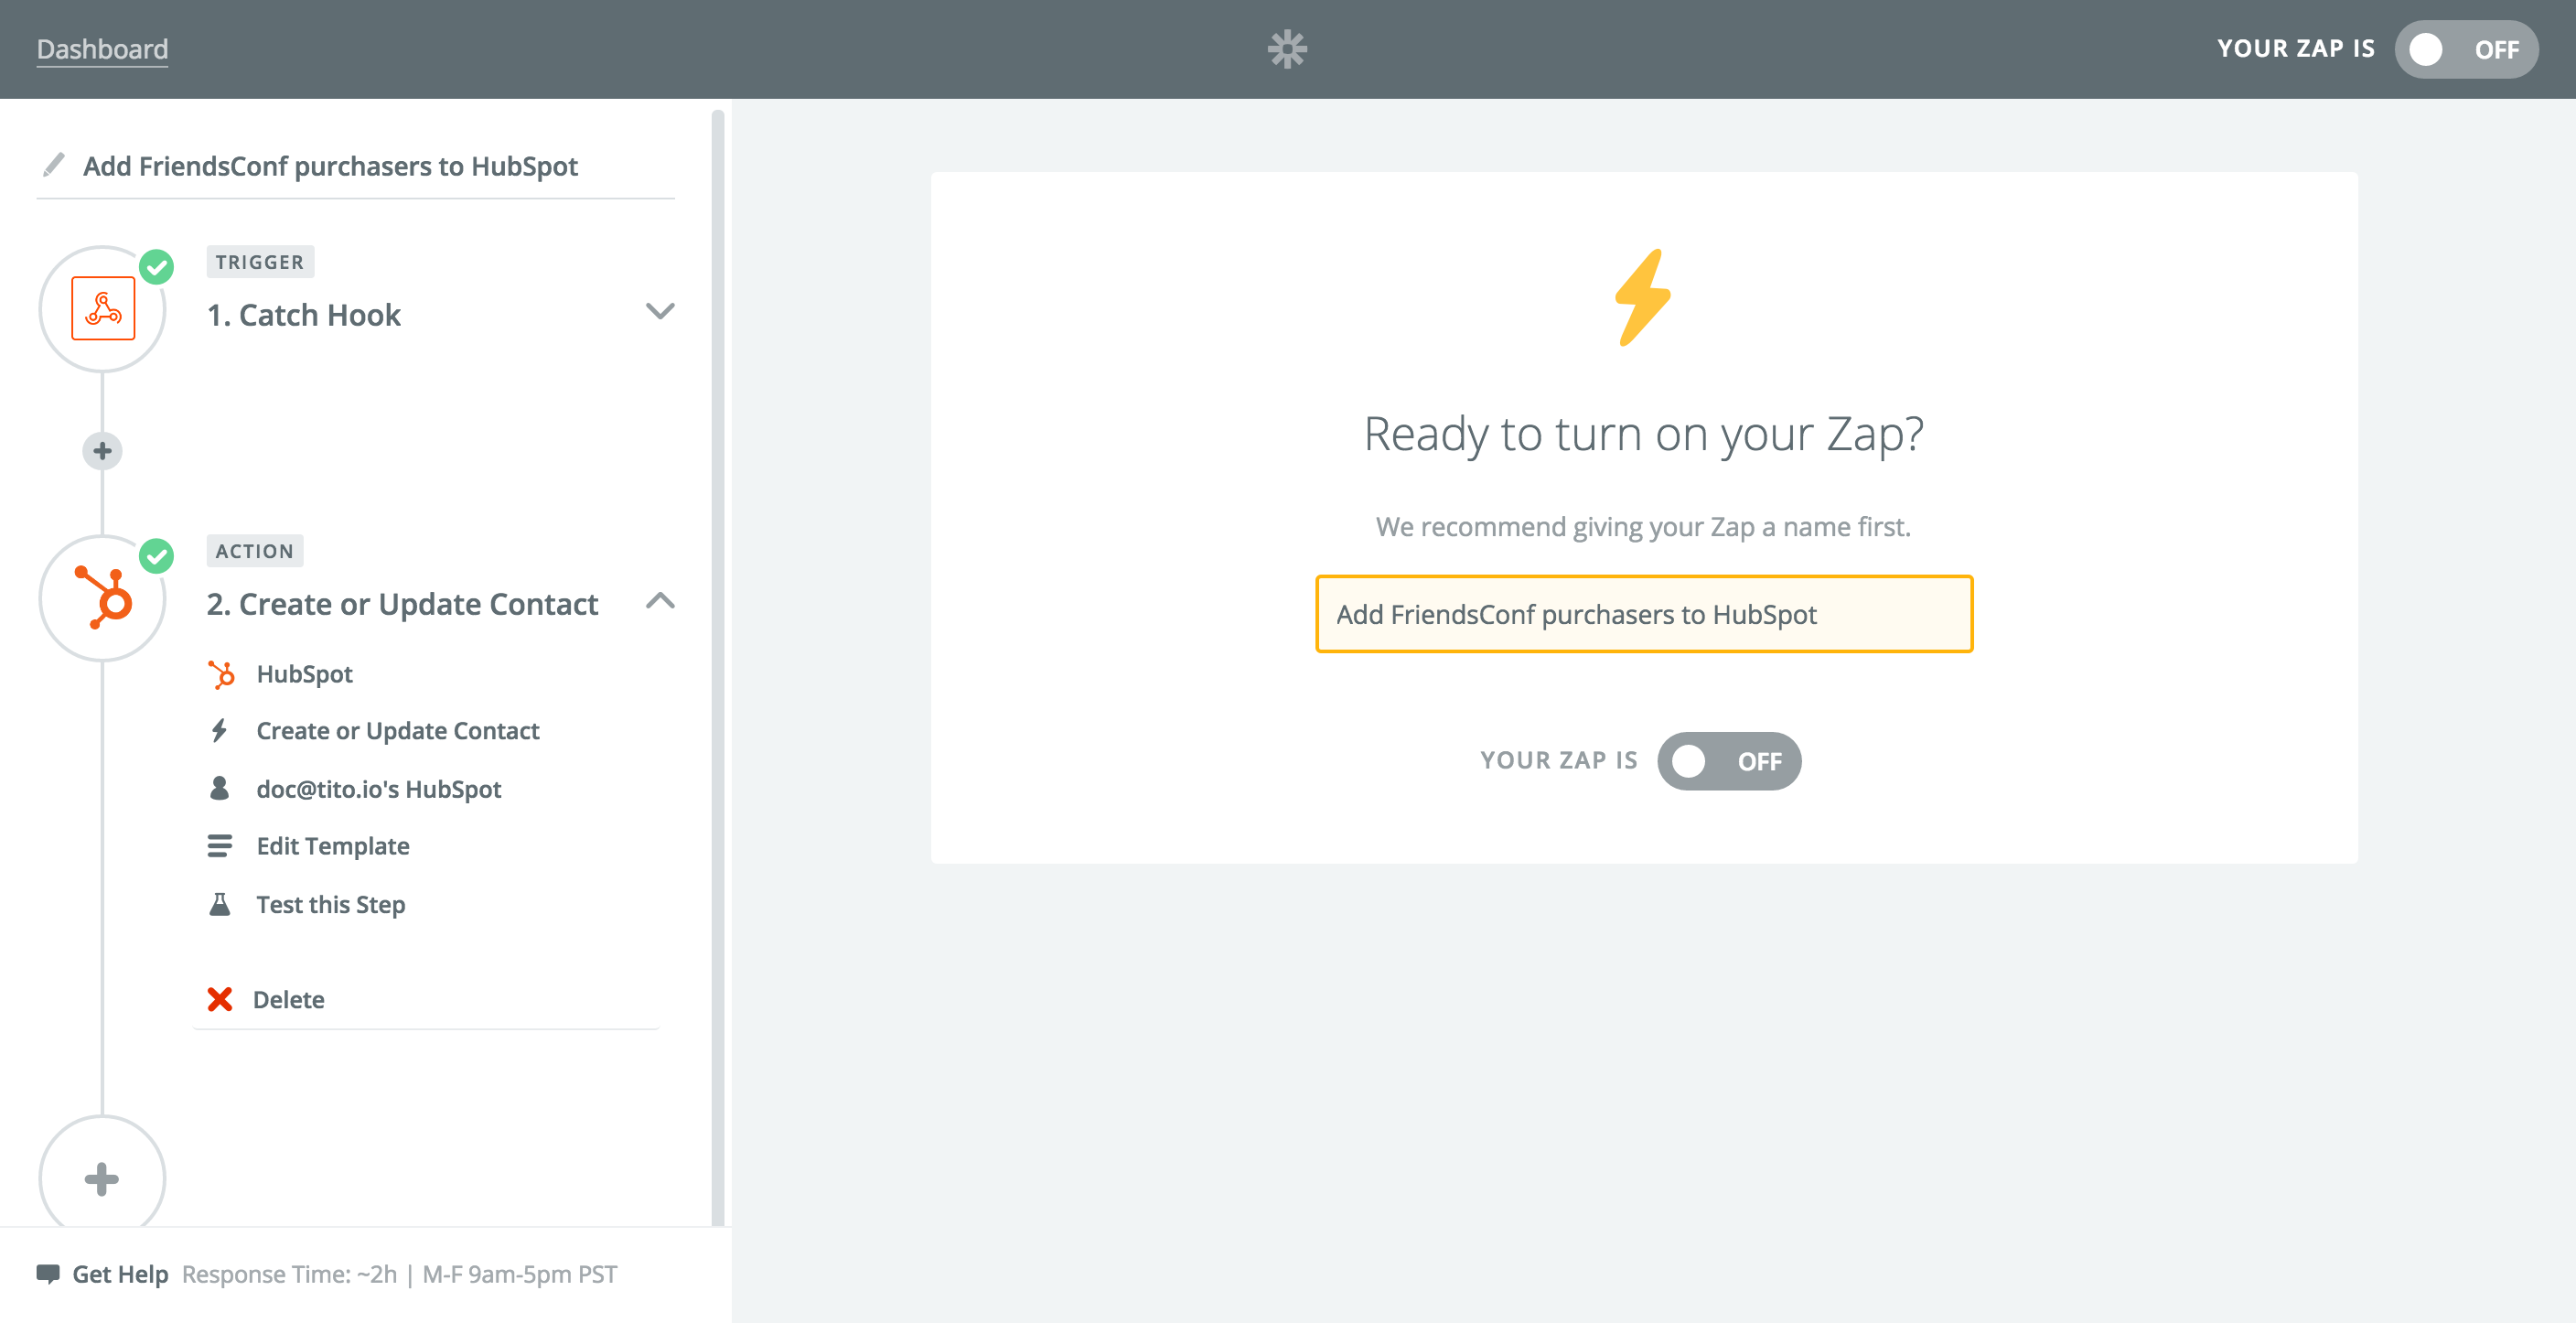
Click “Finish”, name your Zap and switch it on.
Step 19.
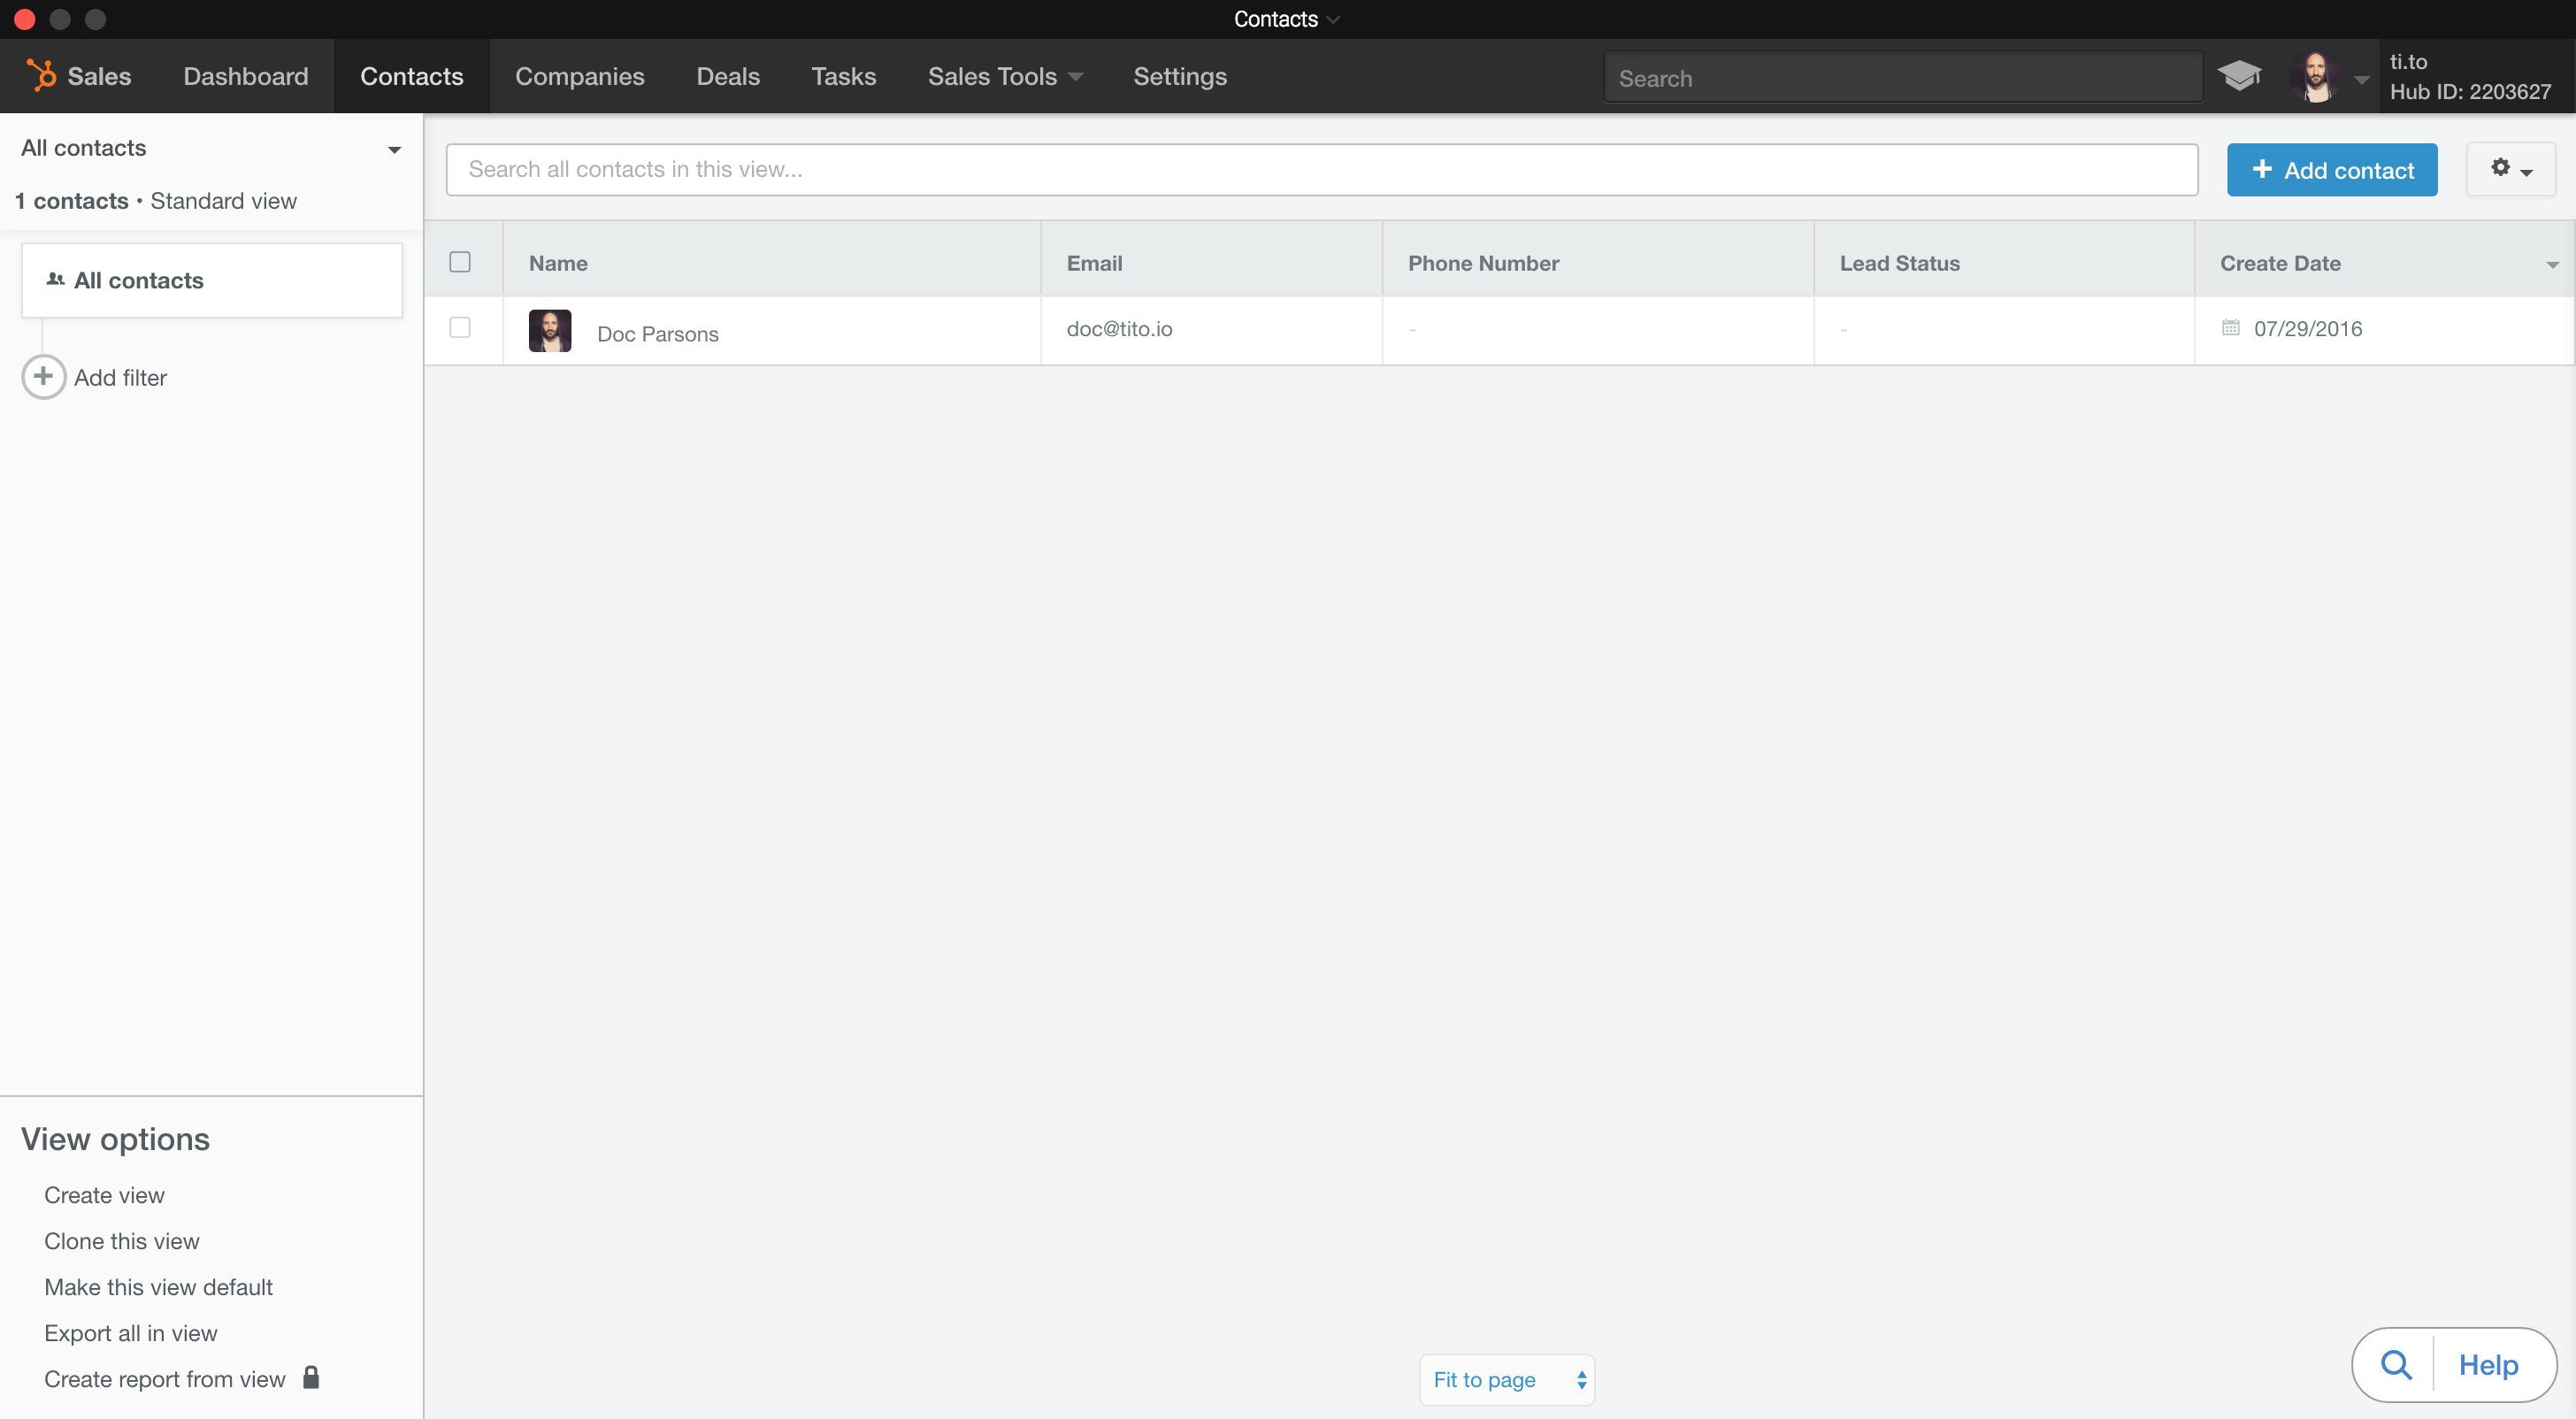
You can jump into HubSpot and see the test contact that was created.
Getting attendee data into Zapier is a little trickier, but I’ll do a follow-up post on this soon.