
How to Bring Your Tito Events Online
In response to the need to offer your attendees virtual events during the Coronacrisis, we wanted to pass on some tips for customers who still want to use Tito for registration.
It’s relatively easy to transition your Tito event to an online offering, and we’ve outlined the basic steps here. Of course, if you have a specific use case that the below doesn’t solve for, you can always reach out to us at support@tito.io.
Changing Your Location
The fundamental change that’s come about from the Coronacrisis is our inability to meet at a physical venue or location. Therefore that’s the first thing we’ll change in our Tito setup to bring the event online.
If you’re using the original Tito interface
Simply navigate to the event you want to bring online in your Tito account, or create a new event. Then, head to Customize -> Basics -> General location. In that section, simply enter “Online” or another fun variation on “Cyberspace”.
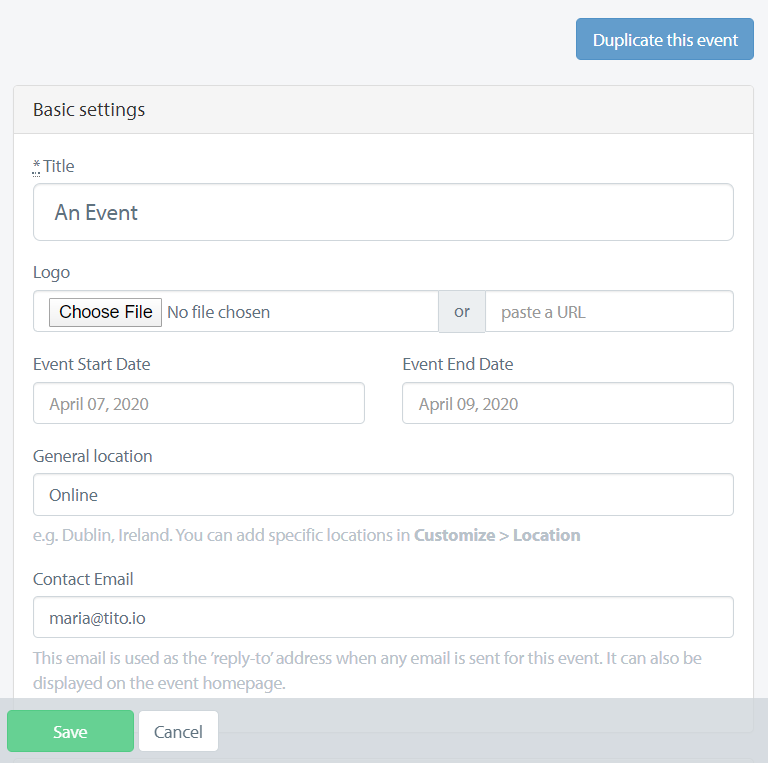
What we don’t recommend is using the settings in the Location menu. If you take this route, you will generate a map in our older interface that will display on your event homepage, and it’s very hard to pin down where “Online” is on a global map.
If you’re using our newest interface
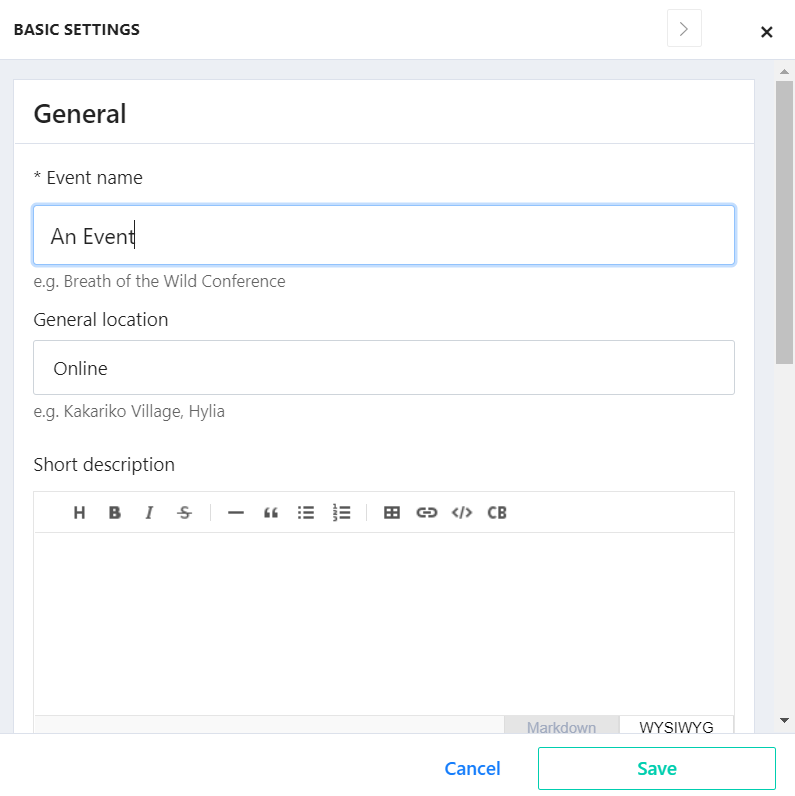
The only difference from the above in the new Tito interface is that the menu item you’re looking for is Settings rather than Customize.
Similarly though, the path to follow is Settings -> Basics -> General location.
Also, if you’d like to swap over to our new interface at any time, you can do so in the Help menu.
Giving Attendees Access to your Virtual Event
The key function of Tito is to provide tickets for access to events. Usually we offer the option to send these tickets as .pdfs and Apple Wallet links with QR codes for physical check-in (see here for details about that in our old interface and here for our new interface). However, we don’t recommend enabling this functionality for virtual events.
Instead, it’s relatively easy to add a link to your video hosting or meeting link of choice in Tito for your online offerings. Here’s how:
If you’re using the original Tito interface
If you’d like to include a link to your online event, you can do so by navigating to Customize -> Tickets -> Custom Success Message:
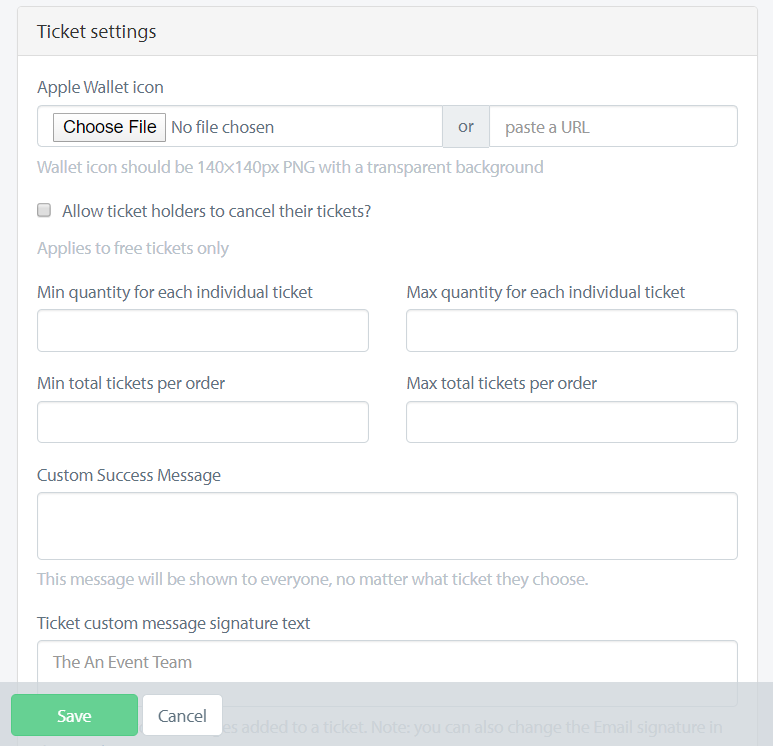
Note that this message will display to anyone who’s successfully bought any ticket associated with the event you’ve set up in Tito.
If you’d rather set that up on a per-ticket basis, you can navigate to Tickets, and fill in the Custom Message section. We have a full (yet short!) blog post about that here.
If you’re using our newest interface
There’s also an option within our new interface to add a custom message that’s displayed when a successful order has been processed:
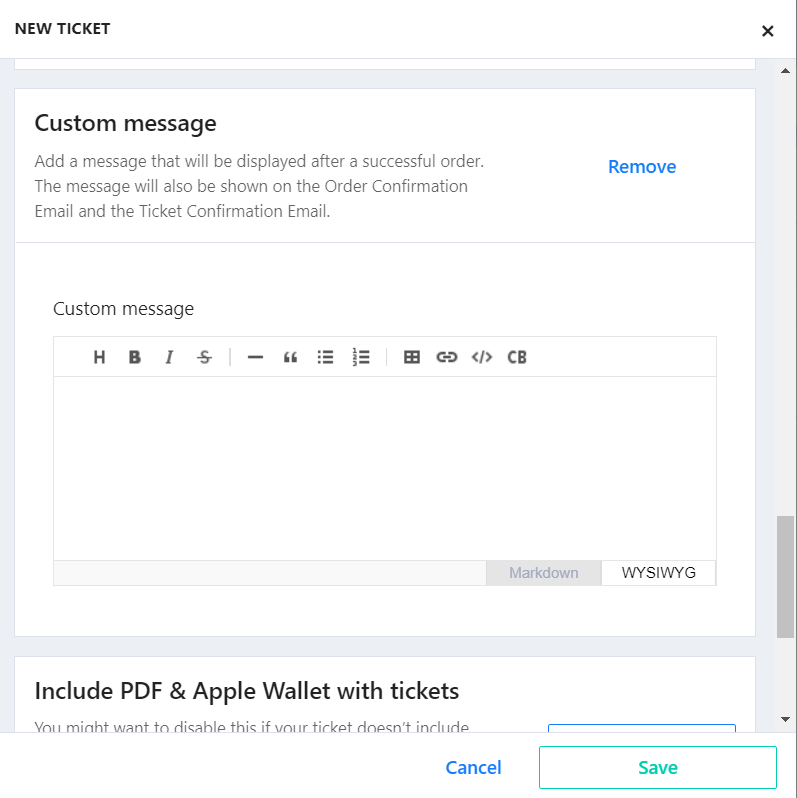
We recommend adding the link to access your online content in this section along with any additional instructions you think would be helpful for your attendees.
Navigate to Tickets -> Add new and scroll down to Custom message to do so.
A New Solution: Vito
You may have seen that we’ve been working on a new system for creating delightful online event experiences. We’ve called it Vito. You can learn more about that here and register your interest in updates about the tool, too.
We hope these instructions help! If you have any unanswered questions you need help with to bring your Tito event online, please reach out to us at support@tito.io.