Quick Tricks #4: Formatting the ticket description

Hello again! Time for another in our Quick Tricks series, where we show you a swift and nifty way to improve your Tito event.
What? Today you’ll learn how to add simple formatting like bold text and line-breaks to ticket descriptions to make them easier to read.
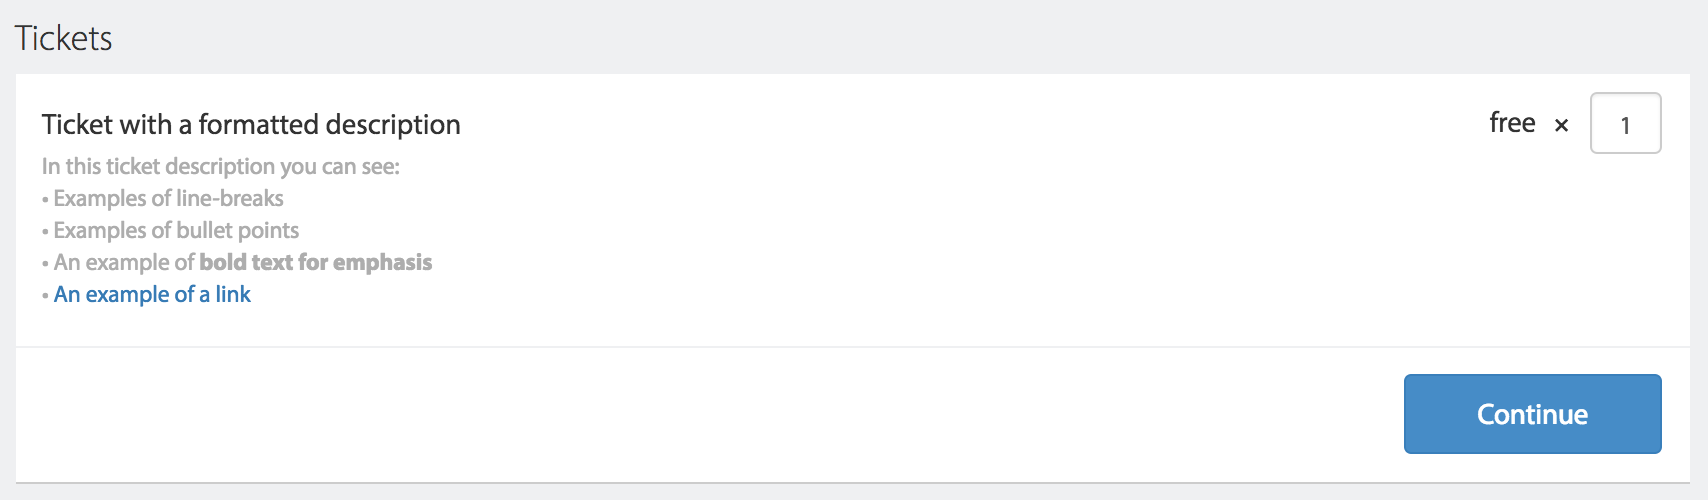
Image description: Ticket with a formatted description.
Why? We generally recommend you keep ticket descriptions short, especially if you have multiple tickets. But, used in moderation, some formatting can improve readability of your descriptions.
How? You may have spotted that markdown isn’t supported for ticket descriptions at the moment like it is for other areas of the Tito event homepage, but don’t worry—there’s a workaround in the form of good old HTML. Yes, it’s code, but just a few basic commands can get you a long way.
Here’s how the example ticket description above looks in the back-end of Tito:
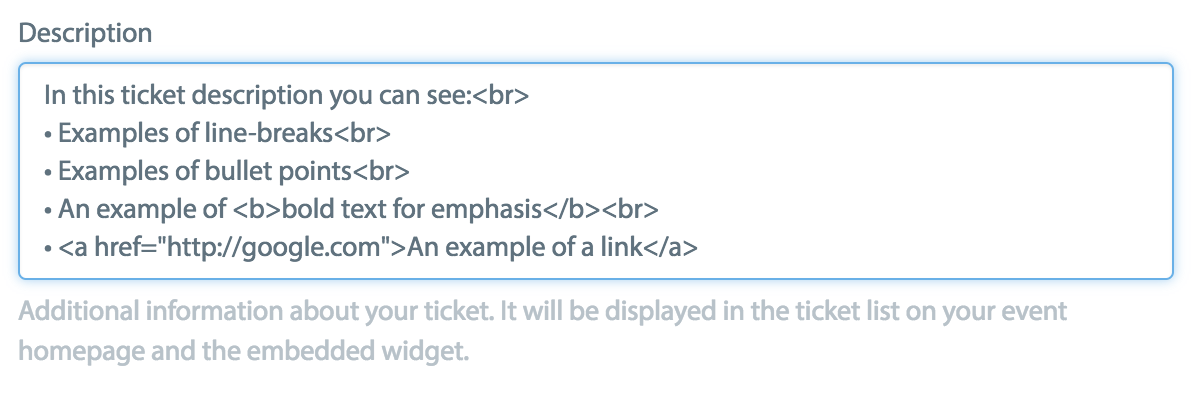
Image description: Text with HTML formatting in the description field.
That’s not too awful, right? Here some commands you can use:
- To create a line-break, add <br> at the end of a line of text
- To make text bold, add <b> before of it and </b> at the end of it
- To make text italic, add <em> before it and </em> at the end of it
- To insert a link, use <a href=”http://examplewebsite.com”>Example text</a>
- HTML bullet points aren’t supported, but you can type one with your keyboard using Option + 8 (Mac) or Alt + 0149 (Windows).
Or just copy and paste this one: •
If this has whet your appetite to learn a little more HTML (it’s honestly pretty fun), then a good place to start is to check out this cheat sheet. Although you can’t use all of these HTML elements in Tito, it’s still worth learning some of them anyway. They’re the building blocks of the internet after all!
I hope you enjoyed today’s Quick Trick. The next one drops in a fortnight. ?