Tito Activities Explained (Finally!) – With Video
Activities is one of the most powerful features of Tito. And one of the most misunderstood…
Generally when we explain our Activities feature to customers, they say something like “Oh, that’s really cool! But that’s not what I would have expected it to do, based on its name”. That’s a fair point. In our defense, naming features is hard! But we want to help clear things up.
We even have one team-member (who shall remain nameless) who recently confessed he still doesn’t really understand what Activities does! So let’s demystify the feature for once and for all, for him and for anyone else who’s unsure.
This introductory video will give you an overview, and below we deep dive into several different scenarios where Activities can be a useful addition to your workflow. For all of these examples you can find Activities in the left-hand sidebar.
Keeping count across different ticket types
Let’s say you’re running a one-day conference at a venue with a capacity of 1,000 seats.
You have a bunch of different ticket types: early bird, standard, last chance, exhibitor 1, exhibitor 2, student, staff, speaker, volunteer and so on. Most of your ticket types count as a seat in the lecture theatre, but some of them don’t.

Image description: A list of ticket types, some marked as being a seat and some marked as not being a seat.
The Tito dashboard tells you the total number of registrations, but if you want to know how many seats in the theatre have been filled, you’d need to get out your calculator and start adding up the relevant ticket types.
Or you can use Activities to do this automatically!
Here’s how:
- Create an activity called something like Seats
- Set the capacity to 1000
- Uncheck the box that says “Show this activity publicly”, as this activity is for internal use
- Attach the activity to all the ticket types that count as a seat, and hit save.
Under Activities, you’ll now be able to see the total count across all of those different ticket types and as a bonus, because you’ve set a capacity of 1000, the included tickets will automatically come off sale when you reach that limit. So you can be sure your event won’t accidentally go over capacity.
Managing capacity across multi-day events
Now let’s say you’re running a two-day event and you’re selling tickets to each day separately, as well as a ticket to both days.
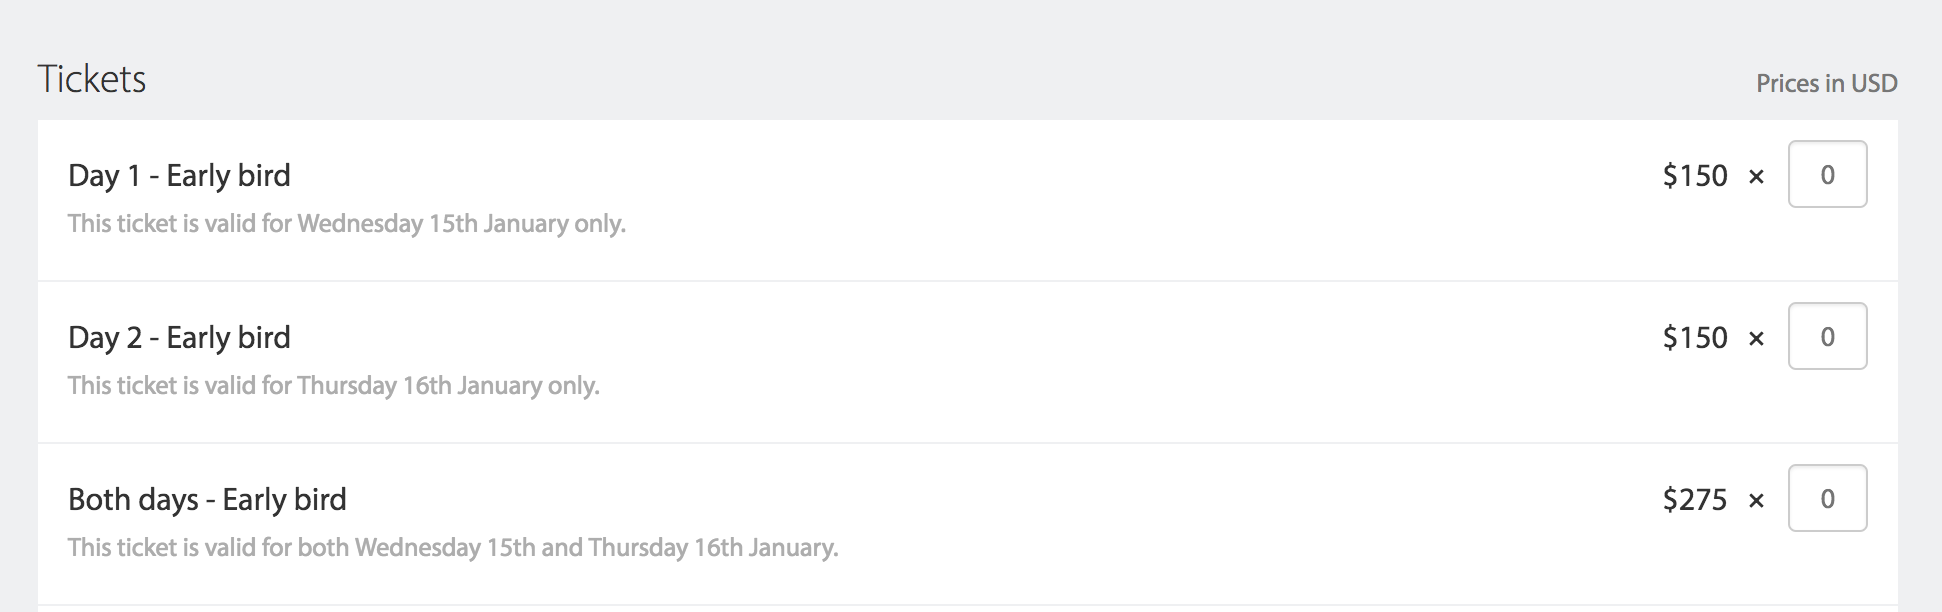
Image description: Three ticket types on the homepage—Day 1 Early Bird, Day 2 Early Bird, and Both Days Early Bird.
You don’t know in advance whether Day 1 or Day 2 is going to prove more popular, so it’s tricky to guess what you should set as the capacity for each. You’d need to keep an eye on how sales are going and adjust your totals for each ticket as you go along. Or you can use Activities to handle this all for you.
Here’s how:
- Create an Activity for the first day of your conference
- Set your capacity at whatever the total amount of space is in your venue for each separate day
- Uncheck the box that says “Show this activity publicly”, as this activity is for internal use
- Attach it to any tickets which include access to day 1 of the event (i.e. Day One and Both Days)
- Repeat these steps for the second day of your conference (attaching it to your Day Two and Both Days tickets)
Now, not only will Activities reveal how many people are coming to each day of your event, Tito will automatically take the attached tickets off sale if you hit the Activity capacity across the different ticket types.
So for instance if you hit capacity for the day two Activity, attendees will no longer be able to purchase either a Day 2 ticket or a Both Days ticket.
Keeping track of different…um…activities?
This next example is relevant for events which have different tiered options, and is kind of where the name Activities originally came from.
Let’s say you’re running an event that comprises a conference, a workshop and a dinner. You’re selling three types of ticket: a ticket to just the conference, a ticket to the conference and the workshop, and a ticket to the conference and workshop and dinner.
You need to keep track of numbers for each individual event component, or activity (conference, dinner, and workshop), so that you can manage logistics and know how many tables to put out in your workshop room, and how many dinners to order. Again you can handle this using our Activities feature.
Here’s how:
- Create a an Activity called Conference
- Set a capacity if you like
- Uncheck the box that says “Show this activity publicly”, as this activity is for internal use
- Attach it to all three ticket types (as they all grant access to the conference)
- Repeat the process for the Workshop but only attach it to the two tickets which include workshop access
- Repeat the process for the Dinner but only attach it to the one ticket which includes dinner

Image description: A list of Activities with the quantity beside each.
Now under Activities you have a really clear breakdown of numbers for each component of your event.
Adding times and a schedule to your event
We’ve saved the best for last. So far, all our examples have been about how Activities can help you as an event organiser better manage your numbers. But probably the most common enquiry we get is how to add times to events for the benefit of attendees.
You can use Activities for this too!
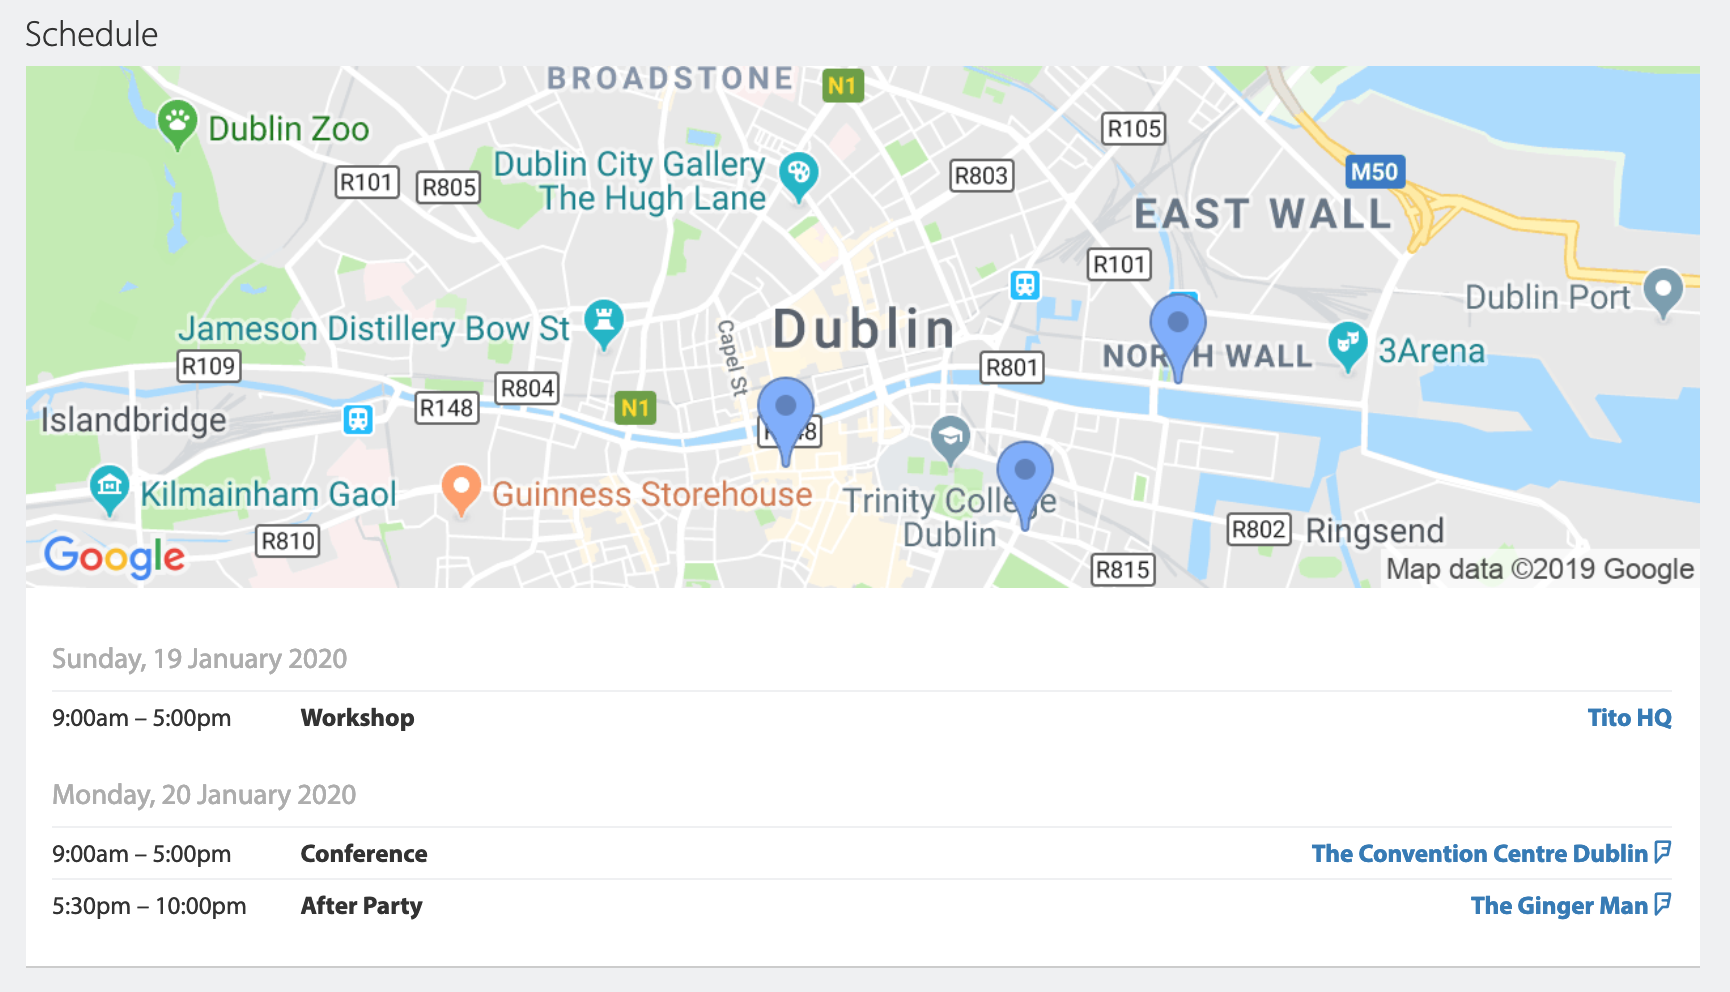
Image description: A map and schedule on the event homepage.
In the example above, I’ve used Activities to generate a public-facing schedule with dates, times and venues for all three components of my event experience.
Here’s how:
- Add any venues under the Customize > Location menu (optional step)
- Create an Activity for each component, and set the date, start time and end time
- Optionally attach a venue from the list of ones available
- Attach each Activity to the relevant ticket
- Make sure the box that says “Show this activity publicly” is checked this time
Not only can you now keep track of numbers, and have a schedule displayed on the event homepage, but the ticketholder’s calendar file and PDF ticket will also include their personalised itinerary, based on their order!
And if you want to display the time of your event on your homepage, you simply need to create a public Activity with the date, start and end time, and ensure this is attached to your tickets. This will then display on the homepage.
One thing to watch out for
Activities is really good at what it’s designed to do, which is take attached tickets off sale when the Activity capacity is reached. So if a ticket ever shows as sold out even though its capacity hasn’t been reached, make sure there isn’t an attached Activity restricting the quantity available!

Image description: A notification saying tickets are not available because the attached Activity is sold out.
I hope you found this tutorial useful. Got an idea for what we should cover next? Drop me a line at vicky@tito.io.